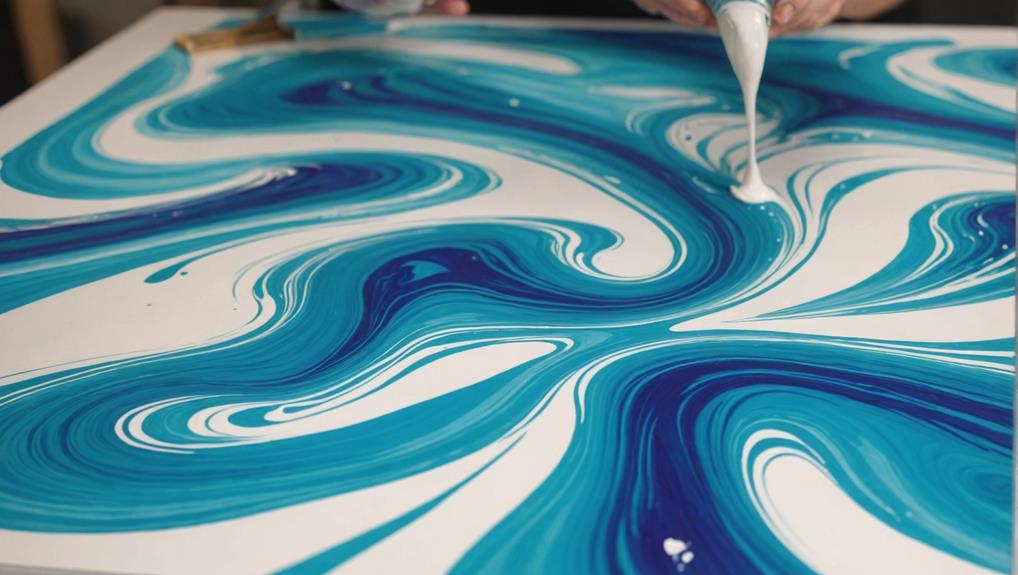
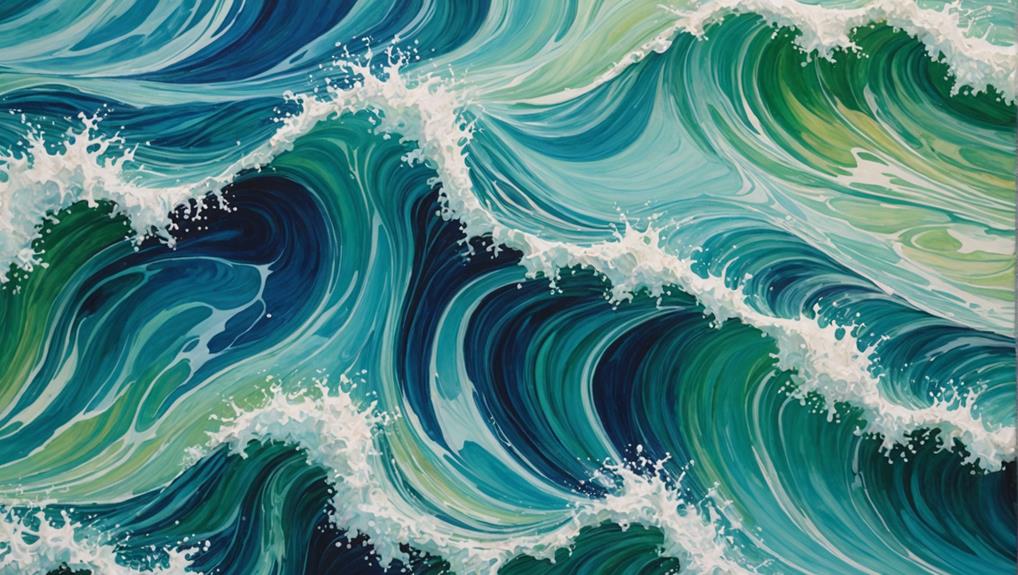
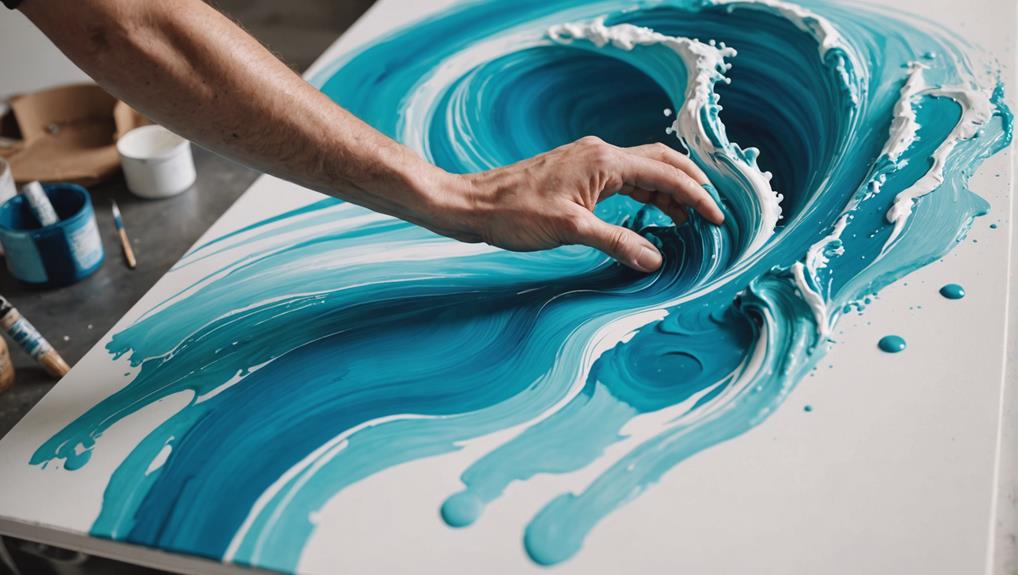
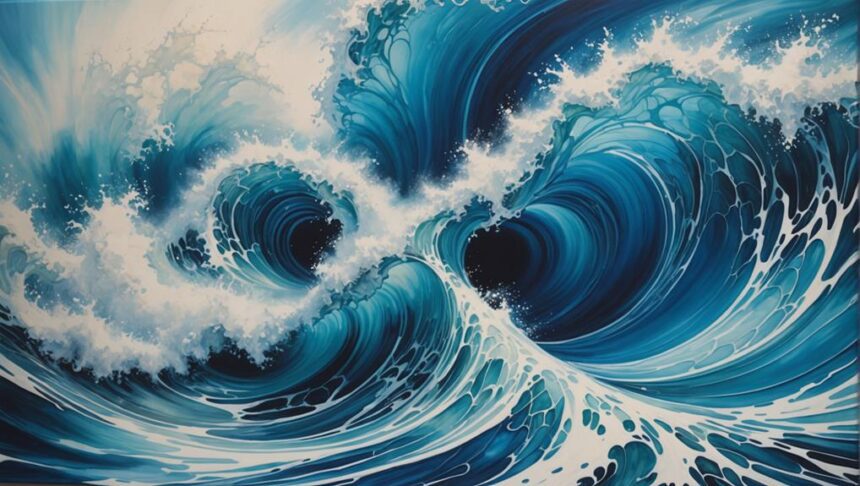
Immerse yourself in the mesmerizing world of ocean wave fluid art with this step-by-step tutorial! Start by prepping a sturdy 12×24 canvas with painter's tape and Mod Podge to avoid paint bleed. Mix your paints using a 1:4 paint-to-Floetrol ratio for that perfect flow, adding silicone for impressive cell formations. Blend colors like antique gold and deep blues to capture the ocean's depth. Employ various pouring and swiping techniques to create dynamic wave patterns, and don't forget to level your canvas! Keep an eye on temperature and humidity while drying, ensuring a beautiful finish. Ready to make some waves?
Key Takeaways
- Canvas Preparation: Use a 12×24 inch gallery-wrapped canvas, seal with Mod Podge, and elevate on cups for free paint flow and balance.
- Paint Mixing: Mix 1 oz paint with 4 oz Floetrol, add silicone for cell formation, and ensure even consistency.
- Color Selection: Choose a balanced palette of light, medium, dark, and accent shades for visual interest and evoke desired moods.
- Pouring and Swiping: Use a spirit level for even paint flow, drag a plastic sheet lightly for smooth swipes, and maintain wave shape integrity.
Canvas Preparation
Creating a solid foundation for your fluid art piece begins with meticulous canvas preparation. Imagine this: you're brimming with creative inspiration, enthusiastic to capture the mesmerizing movement of ocean waves on your canvas.
Start by selecting a 12×24 inch gallery wrapped heavy-duty canvas with a 1.5 inch thick frame. This type of canvas is essential for canvas maintenance, as it prevents warping and keeps your artwork sturdy.
Next, confirm those neat, professional edges by back taping your canvas with painter's tape. For an extra layer of protection, apply Mod Podge around the tape edges to prevent any paint bleed-through. It's like giving your painting a little security blanket!
Now, let's talk workspace. Keep things tidy by wrapping a tray in aluminum foil. This trick makes cleanup a breeze and keeps your focus on the art, not the mess. Raise your canvas on cups to let the paint flow freely, creating that beautiful, wave-like effect without pooling underneath.
Before you pour a single drop of paint, double-check that your canvas is level. An even surface guarantees your ocean-inspired masterpiece will have a balanced, harmonious look.
Happy painting!
Paint Setup
To start your paint setup, you'll need a sturdy 12×24 inch canvas with a thick frame to keep it from warping.
Secure the edges with painter's tape and seal them with Mod Podge for those perfect, clean lines.
For mixing the paint, use an aluminum foil-wrapped tray for easy cleanup, and a digital scale to get the paint ratios just right.
Mix 1 oz of paint with 4 oz of Flood Floetrol, and add three drops of silicone per five-ounce mixture for those stunning, large cells.
Canvas and Materials Preparation
For ideal results in your ocean wave fluid art, start by preparing a 12×24 inch gallery wrapped heavy-duty canvas, making sure it is properly back taped with painter's tape and sealed with Mod Podge to prevent paint bleed-through.
Selecting the right canvas type is vital; a heavy-duty canvas provides a sturdy surface that can handle the weight of fluid paint without sagging. The gallery-wrapped edges also give a professional finish to your artwork.
Surface textures play a significant role in the final outcome. By sealing the canvas with Mod Podge, you create a smooth, non-porous surface that helps the paint flow evenly and prevents it from soaking into the canvas fibers. This preparation not only enhances the vibrancy of your colors but also guarantees that your design remains crisp and detailed.
Set up your workstation with an aluminum foil-wrapped tray for easy cleanup and a digital scale to accurately measure paint ratios.
Raise your canvas on cups to allow excess paint to drip off, maintaining clean edges and preventing pooling. This meticulous preparation lays the foundation for a successful and visually stunning ocean wave fluid art piece.
Paint Mixing Ratios
Accurate paint mixing ratios are essential for achieving the desired fluidity and cell formation in ocean wave fluid art.
Let's explore the nitty-gritty of paint viscosity and color harmony to set up your paints just right.
Start with the base paint mixture: combine 1 oz of paint with 4 oz of Flood Floetrol. This ratio guarantees your paint flows smoothly, creating those mesmerizing ocean waves. For the swipe color, you'll want a thinner consistency—add 0.75 oz of water to your mixture. Remember, the swipe color helps in forming those intricate details, so keep it nice and fluid.
Now, let's talk about cells. They are the little bubbles that add texture and depth to your art. Add three drops of silicone per five-ounce paint mixture to promote larger cells but skip the silicone in your swipe color. This trick keeps your waves looking natural and dynamic.
When mixing sand colors, aim for color harmony. For a darker sand shade, mix 0.5 antique gold, 0.25 warm gray, and 0.25 white. For a lighter sand, go with 0.35 antique gold, 0.15 warm gray, and 0.6 white.
Always mix Floetrol first before adding paint to avoid thick mixtures.
Happy painting!
Color Selection
Selecting the right colors for your ocean wave fluid art piece is essential for achieving the desired depth and contrast in your artwork.
When we talk about color psychology and color harmony, it's all about how different shades work together to create a feeling or mood. For example, using lighter shades like antique gold and white can give a sense of warmth and sunlight, while deeper blues can evoke the cool, mysterious depths of the ocean.
Consider a palette that includes light, medium, dark, and bright accent shades. This helps create a balanced artwork with lots of visual interest. For a cohesive sand color mix, you could use a darker combination of 0.5 parts antique gold, 0.25 parts warm gray, and 0.25 parts white. If you want a lighter mix, go for 0.35 parts antique gold, 0.15 parts warm gray, and 0.6 parts white.
Masters Touch Titanium White is fantastic as the swipe color. It really makes those ocean colors pop and adds that dramatic wave effect we all love.
Mixing Paints
To achieve the ideal flow and consistency in your ocean wave fluid art, begin by mixing 1 oz of paint with 4 oz of Flood Floetrol. This general mixing ratio guarantees smooth application and vibrant colors. However, the type of paint you use can greatly impact your results. Acrylic paints are highly recommended due to their versatility and rich pigmentation.
Understanding color theory is essential when mixing paints. For instance, to achieve the perfect sand color, you'll need to mix 0.5 oz antique gold, 0.25 oz warm gray, and 0.25 oz white for a darker shade. Conversely, a lighter sand shade requires 0.35 oz antique gold, 0.15 oz warm gray, and 0.6 oz white.
When aiming for a thinner consistency for swipe colors, add 0.75 oz of water. This adjustment helps in blending different hues seamlessly. Incorporate three drops of silicone per five-ounce mixture to create larger cells, a hallmark of fluid art. Remember, do not mix silicone into swipe colors to maintain ideal results.
Pouring Techniques

Pouring techniques are essential for creating stunning ocean wave fluid art, and it all starts with preparing your canvas.
Ensuring your canvas is level helps maintain an even flow of paint, preventing colors from mixing unintentionally.
Next, you'll want to mix your paint colors carefully, adding silicone to achieve those mesmerizing cells.
Preparing the Canvas
Preparing your canvas is vital for achieving the best results in ocean wave fluid art. Start with a 12×24 inch gallery-wrapped, heavy-duty canvas, and begin by priming it with Mod Podge. This step seals the back and edges, preventing paint bleed-through and guaranteeing clean lines. Next, secure painter's tape along the back edges to maintain a tidy finish.
Surface leveling is important. An uneven canvas can cause paint to flow irregularly, distorting your ocean wave design. Use a spirit level to check that your canvas is perfectly horizontal. If necessary, adjust it using small wedges or shims until it's completely flat.
Elevate the canvas using cups placed at each corner. This allows excess paint to drip off cleanly, preventing it from pooling at the edges and ruining the final appearance.
For ideal paint consistency, mix one ounce of paint with four ounces of Floetrol. To promote cell formation, add three drops of silicone to your base colors but avoid adding it to the swipe color. This preparation guarantees that when you start pouring, your canvas is ready to capture the dynamic beauty of ocean waves.
Mixing Paint Colors
Mastering the art of mixing paint colors is vital for achieving the desired effects in ocean wave fluid art. Understanding color theory and pigment properties can dramatically transform your artwork.
Start by mixing 1 oz of paint with 4 oz of Floetrol to create a smooth, vibrant consistency. This base mix is essential for fluidity and helps your colors pop on the canvas.
To create stunning ocean waves, you'll want large, mesmerizing cells. Add three drops of silicone to every five-ounce paint mixture. Just remember, avoid adding silicone to your swipe color to keep those beautiful wave patterns clean.
For realistic sand colors, combine darker shades with 0.5 antique gold, 0.25 warm gray, and 0.25 white. For lighter sand, use 0.35 antique gold, 0.15 warm gray, and 0.6 white.
When it comes to your swipe color, the secret is in the water. Add about 0.75 oz to make sure it's thin enough to flow and blend seamlessly.
This careful balance of color theory and pigment properties will bring your ocean wave fluid art to life, making each piece a masterpiece.
Swiping for Effects
With your paints mixed to perfection, the next step is to master the swiping techniques that will bring dynamic movement and depth to your ocean wave fluid art.
Start by ensuring your canvas is level to avoid those pesky paint drips. Using a plastic sheet, rest it gently on the paint's surface and drag it across, applying just enough pressure for smooth swipes without streaks. This technique helps in achieving seamless color blending, creating that enchanting wave effect.
When it comes to wave peaks, a light hand is your best friend. Overworking the paint can ruin the delicate foam that makes ocean waves so fascinating. For finer details, use smaller plastic cutouts to control the paint better, adding intricate touches that enhance your design.
To enhance your artwork further, consider mixing three drops of silicone into your base colors. Stir this mixture minimally to achieve larger cells, adding a bubbly texture to your waves that mimics the ocean's natural movement.
Mastering these swiping techniques will not only make your artwork more dynamic but also imbue it with a lifelike sense of depth and motion. Happy swiping!
Application Methods
The plastic sheet technique is a significant method in ocean wave fluid art, enabling artists to create smooth swipes and fascinating wave effects on the canvas. By using swipe techniques, artists can achieve intricate wave patterns that mimic the natural movement of the ocean.
To begin, rest the plastic sheet gently on the canvas and drag it lightly, maintaining consistent pressure to guarantee a smooth swipe without streaks. For ideal results, mix silicone into your base colors, but avoid adding it to the swipe color, as this can affect cell formation.
Confirming your canvas is level is essential; use a level tool to check this, as an uneven surface can lead to unwanted drips and flow issues. Smaller plastic cutouts are excellent for creating detailed foam swipes, allowing for delicate wave peaks that add realism to your artwork.
A light hand technique during application helps preserve the integrity of the wave shapes, preventing overworking the paint and maintaining the desired fluidity. By mastering these methods, you can create enchanting ocean wave fluid art that captures the essence of the sea's movement.
Final Touches

As you complete the application methods, it's important to focus on the final touches to secure your ocean wave fluid art achieves a professional and polished finish. First, carefully remove excess paint from the edges of the canvas using a popsicle stick. This step is vital to prevent bleeding into adjacent colors and maintain clean lines. During your final inspection, check for any drips and gently wipe them away while the paint is still wet. This guarantees a smooth finish and avoids unsightly imperfections.
After the initial drying period of 36 to 48 hours, it's time for touch-ups. Use white acrylic paint to correct any imperfections, giving your artwork a polished look. Confirming the canvas remains stable during this time is essential to preserve the intricate cell structures created during pouring. Also, keep an eye on the drying environment, as temperature and humidity can affect the artwork's final appearance, including drying time and cell formation.
Here's a quick summary:
| Task | Tool/Material | Purpose |
|---|---|---|
| Remove excess paint | Popsicle stick | Maintain clean lines |
| Check for drips | Soft cloth | Guarantee smooth finish |
| Touch up imperfections | White acrylic paint | Achieve a polished look |
Drying Process
Assuring proper drying conditions is critical to the success of your ocean wave fluid art. The drying process typically takes between 36 to 48 hours, but this can vary based on environmental factors like humidity and temperature.
One of the key drying techniques is to keep your canvas stable. This helps maintain the beautiful cell structures you created during the pouring process.
Humidity effects play a significant role. If the air is too humid, the drying time can extend, sometimes leading to unwanted issues like paint bleeding into adjacent colors. To avoid this, make sure your workspace is well-ventilated. Not only does good ventilation speed up drying, but it also minimizes the risk of dust particles settling on your wet masterpiece. Nobody wants a rogue piece of lint ruining their ocean waves!
During this time, keep an eye out for any excess paint. Carefully remove it to prevent it from disrupting your design.
After the initial drying period, you can use white acrylic paint for touch-ups to fix any small imperfections. Remember, patience is key. Rushing the drying process can compromise the integrity of your artwork, so give it the time it needs to shine.
Community Building

Building a vibrant community around your ocean wave fluid art can greatly enhance both engagement and loyalty among your audience. Engaging with your audience through comments and likes creates a sense of connection, making viewers feel more involved.
Hosting live Q&A sessions provides real-time interaction, fostering a deeper relationship with your followers. It's like inviting them into your studio for a chat!
Creating polls for audience input on future content not only boosts audience engagement but also makes your viewers feel valued and included in your creative process. Imagine how excited they'll be to see their ideas come to life!
Featuring active community members in your content or social media can further encourage participation while also building loyalty. People love recognition, and a shout-out can go a long way.
Encouraging user-generated content promotes inclusivity and allows your audience to share their own experiences, which strengthens the community bond. Imagine a gallery filled with beautiful ocean wave art created by your followers!
Frequently Asked Questions
What Paint Do You Use for Fluid Art?
For fluid art, it is advisable to use high-quality acrylic paint types from reputable pouring paint brands such as Masters Touch. These paints offer vibrant colors and excellent flow characteristics, essential for achieving desirable fluid effects and cell formation.
How to Do a Dutch Pour?
To execute Dutch pour techniques, apply a base layer of paint, then mix colors with a pouring medium. Utilize Dutch pour tools like a hairdryer to blow the paint, creating soft waves. Allow 36-48 hours for drying.
Can You Mix Water With Acrylic Paint for Pouring?
Yes, water can be mixed with acrylic paint to adjust its viscosity for various pouring techniques. However, it is essential to limit water addition to 10-15% to maintain paint integrity and achieve ideal results.
How to Make Your Own Paint Pouring Medium?
To make your own paint pouring medium, mix 1 part acrylic paint with 4 parts Flood Floetrol. For ideal flow and coverage, maintain precise mixing ratios, adding water for thinner consistency and silicone drops for enhanced cell formation.
Conclusion
To sum up, mastering ocean wave fluid art involves meticulous canvas preparation, thoughtful paint setup, and careful color selection.
Effective techniques for mixing paints and various pouring methods are essential for achieving the desired visual effects.
Application methods, including final touches and allowing adequate drying time, contribute to the artwork's final quality.
Engaging with a community of fellow artists can provide valuable feedback and inspiration, enhancing both skill and creativity in this enchanting art form.


Leave a Reply