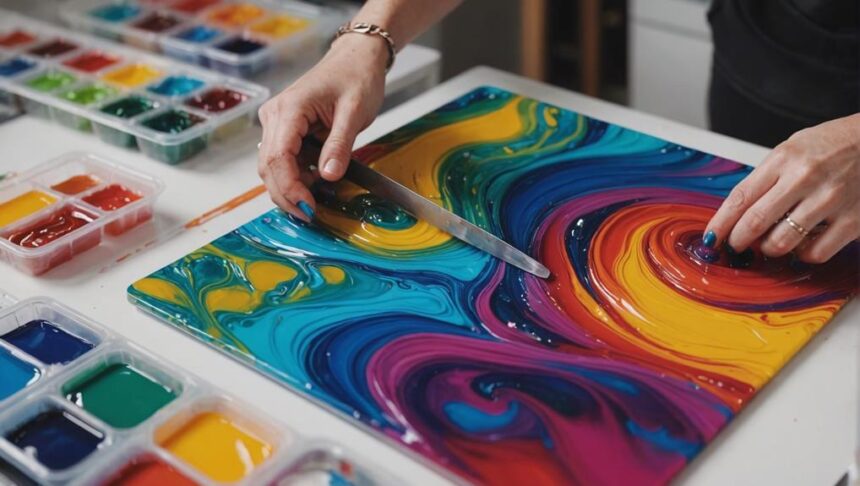
Creating resin art is a blast and easier than you'd think! First, gather your gear: epoxy resin, protective gloves, a respirator, and a sturdy surface like canvas. Next, mix the resin and hardener in a 1:1 ratio for seven minutes, ensuring a smooth blend, then add vibrant pigments. Finally, pour the resin onto your surface, using a heat gun to zap bubbles and create cool effects like cells and marbling. Each layer of color you add can turn your piece into a masterpiece. Ready to plunge into the fun details and tricks?
Key Takeaways
- Gather all necessary materials, including high-quality two-part epoxy resin, protective gear, a sturdy substrate, colorants, and mixing tools.
- Mix epoxy resin and hardener in a precise 1:1 ratio for at least 7 minutes, ensuring thorough blending.
- Add colorants to the mixed resin, maintaining a 10% colorant to 90% resin ratio for vibrant hues.
- Pour the mixed resin onto a clean, level surface, allowing natural spreading for even coverage.
Gather Your Materials
To begin your resin art project, gather all necessary materials, prioritizing quality and safety to assure a successful outcome.
First, choose a high-quality two-part epoxy resin with a 1:1 mixing ratio. This guarantees consistency and ease of use. Safety precautions are vital, so don't skip on protective gear like nitrile gloves and a respirator; resin fumes and colorants can be harmful.
Next, focus on your substrate selection. You'll need a sturdy, clean surface like an artboard, canvas, or tile. Make sure it's level to avoid any frustrating resin pooling. Imagine spending hours on your masterpiece, only to find a lopsided mess because you didn't check the level—yikes!
Gather all your colorants, such as alcohol inks or mica powders. These little wonders will add vibrant hues and dazzling effects to your art.
And don't forget mixing tools! You'll need plastic disposable cups and large popsicle sticks for accurate measuring and thorough mixing. Think of these as your magic wands in the world of resin art.
Mix and Color Resin
Begin by thoroughly combining the epoxy resin and hardener in a 1:1 ratio, guaranteeing a consistent mix for about 7 minutes. This mixing technique is essential to avoid any unevenness in your resin art. While stirring, make certain to scrape the sides and bottom of your mixing container to verify everything is blended well.
Once your resin is mixed, it's time to add some color! Use resin-compatible pigments like mica powders or alcohol inks for vibrant and consistent results. Remember, a little goes a long way. Stick to a mixing ratio of 10% colorant to 90% resin. This keeps your resin flowy and easy to work with.
Warming the resin slightly before mixing can help eliminate those pesky micro bubbles and guarantee an even distribution of color. Now, for the fun part—experiment with color combinations! But don't plunge in headfirst; always test your color ideas in small batches first. This will help you see how the colors interact and make sure you're happy with the final effect before committing to your main artwork.
Mixing techniques and experimenting with color combinations are key steps that set the stage for your masterpiece.
Pour and Create Art
How do you guarantee a flawless pour while creating your resin art masterpiece?
First, start with a clean, level surface to keep your resin from pooling or sliding around. This makes certain the application techniques you use will work perfectly.
Next, mix your two-part epoxy resin thoroughly. It's important to mix it at a 1:1 ratio for at least 7 minutes. This ensures it cures properly and gives your art a beautiful finish.
When you're ready, pour the mixed resin onto your prepared surface. Let it spread naturally. You can control the amount you pour to achieve the color intensity and coverage you want.
Using a heat gun, you can eliminate bubbles and move the resin around. Be sure to keep the tool at a safe distance to avoid burning the resin.
Now, here's where it gets really fun! Experiment with layering effects by pouring different colors on top of each other. This helps you create cool designs like cells and marbling.
Watch how the resin behaves as it sets, and you'll discover new and exciting patterns. So, get creative and let your imagination flow with the resin!
Frequently Asked Questions
How to Start Resin Art Step by Step?
To start resin art, gather essential supplies, guarantee a level, ventilated workspace, and follow precise resin mixing instructions. Experiment with color blending techniques, pour the mixture, eliminate bubbles with a heat gun, and allow adequate curing time.
What Do I Need for Resin Painting?
To start resin painting, you need high-quality epoxy resin, protective gear for resin safety, and tools for thorough mixing. Essential supplies also include suitable substrates, colorants for precise color mixing, and a level surface for even resin distribution.
What Is the Best Artresin for Beginners?
For beginners, the Art Resin brand is ideal due to its long open time, low odor, and simple 1:1 mixing ratio. It guarantees resin safety and facilitates color mixing, making it user-friendly for novices.
What Is the Basic Knowledge of Resin Art?
Understanding resin properties and color mixing is fundamental in resin art. Resin requires precise mixing of resin and hardener for proper curing, and colorants such as alcohol inks or mica powders can create dynamic, vibrant effects.
Conclusion
Resin art painting offers a straightforward yet immensely rewarding creative outlet.
By gathering essential materials, properly mixing and coloring the resin, and skillfully pouring it onto a surface, an enchanting piece of art can be achieved.
This process not only allows for individual artistic expression but also provides a sense of accomplishment.
With these simple steps, anyone can begin a journey into the mesmerizing world of resin art and create visually stunning masterpieces.


Leave a Reply