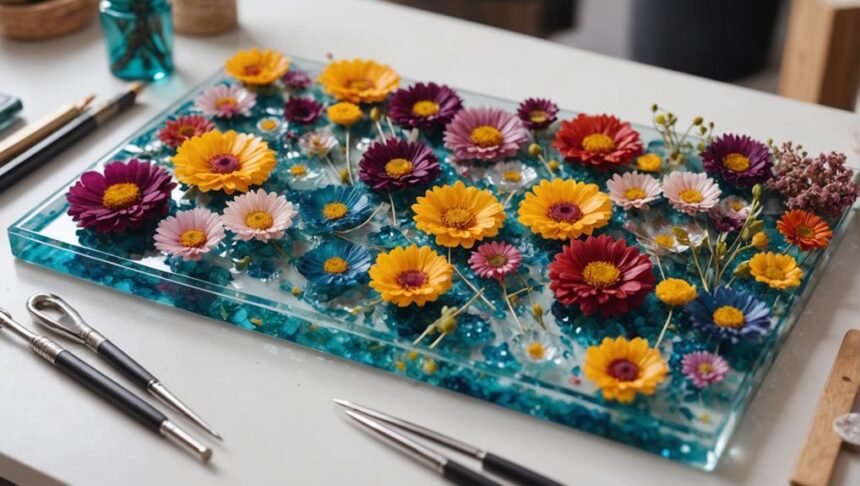
Creating stunning resin art with dried flowers is a fun and creative process that anyone can try! Start by gathering your supplies: epoxy resin, silicone molds, and safety gear. Choose vibrant, flat flowers, and dry them using silica gel or pressing methods. Prepare your workspace with protective coverings and organize your tools. Mix the resin carefully to avoid bubbles, then arrange the dried flowers into the molds using tweezers for precise placement. Pour the resin in layers to embed the flowers, letting each layer cure slightly before continuing. Finally, let the artwork cure completely before adding any finishing touches. Ready to start? Let's get creative!
Key Takeaways
- Choose vibrant, small, and flat flowers, and dry them thoroughly using silica gel or pressing methods.
- Prepare your workspace with protective coverings, and ensure it is well-ventilated and organized.
- Mix epoxy resin and hardener in a 1:1 ratio, stirring slowly to minimize air bubbles.
- Arrange dried flowers using tweezers for precise placement, avoiding overcrowding to enhance visibility.
Gather Your Supplies
To begin your resin art journey, the initial step involves gathering all necessary supplies to guarantee a smooth and successful project execution.
First, you'll need to choose the right resin type. Epoxy resin is a great option, usually coming in a two-part system that requires a 1:1 mixing ratio. Make sure you have a silicone mold in the shape you want for your project; they come in all sorts of fun shapes!
Now, let's talk safety precautions because nobody wants to end up with sticky fingers or worse! Always wear gloves, protective eyewear, and a mask. Resin can emit fumes, and spills can be a sticky mess, so better safe than sorry!
Next, grab your mixing cups and stir sticks. These are essential for measuring and mixing the resin components accurately. Tweezers are also handy for placing your dried flowers just right. Speaking of flowers, you'll need those too, but we'll get to that in the next step.
Lastly, prep your workspace. Cover surfaces with wax paper or silicone mats to avoid any sticky situations. A clean, organized space makes the whole process more enjoyable and less stressful.
Now you're ready to immerse yourself in the exciting world of resin art!
Select and Dry Flowers
Selecting the right flowers and drying them properly is key to creating stunning resin art.
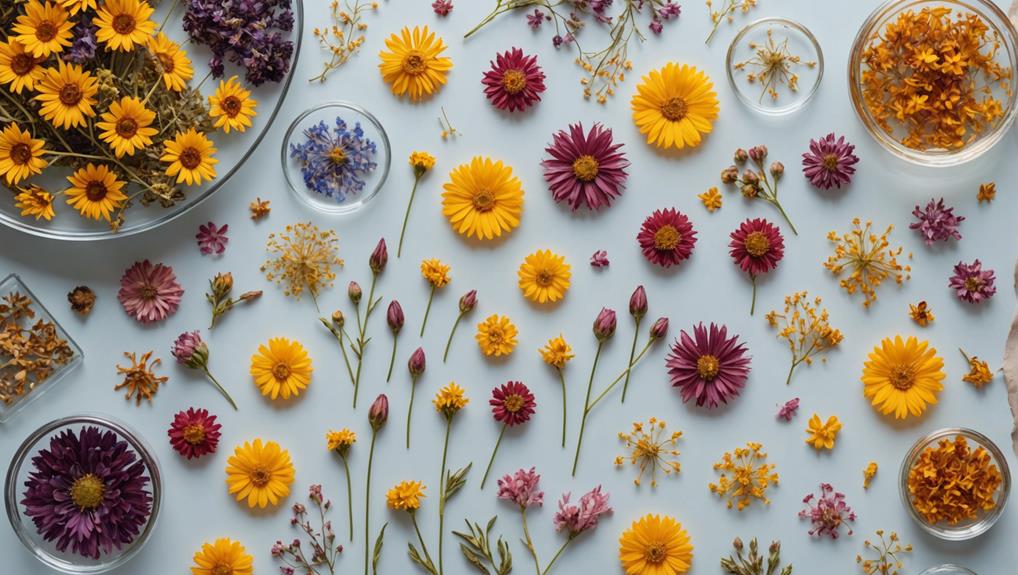
Vibrant flowers like roses, daisies, and marigolds are great choices because they keep their colors well.
Using the silica gel drying method guarantees your blooms stay bright and beautiful, making your artwork pop!
Choosing Suitable Flowers
When starting on resin art projects, it is essential to choose small, flat, and vibrant flowers, such as daisies or roses, to guarantee they retain their aesthetic appeal once embedded in resin.
Flower color plays a significant role in enhancing the visual charm of your art. Opt for bright and bold hues that will stand out within the resin. Different flower types offer varied textures and appearances, so selecting the right types is important.
To guide you in choosing suitable flowers, consider the following:
- Size and Shape: Small and flat flowers work best as they fit well in molds and maintain their shape.
- Color: Choose vibrant colors that won't fade quickly when dried, ensuring they pop against the resin.
- Durability: Some flowers are more robust and hold up better during the drying process.
Effective Drying Methods
Ensuring flowers are thoroughly dried is imperative for successful resin art, and various methods can be employed to achieve ideal results.
One of the most effective methods is using silica gel. This magical substance can dry flowers in just 2-7 days, preserving their shape and vibrant colors, making them perfect for your resin projects. Imagine capturing a rose's beauty forever!
If you prefer a more traditional method, air drying is another great option. Simply hang your flowers upside down in a well-ventilated area. It takes about 3-4 weeks, but the wait is worth it. The flowers dry naturally, maintaining their lovely appearance. Picture a bunch of daisies swaying gently as they dry—it's like nature's own art show!
For those who like to press flowers, using heavy books or a wooden press can also work. It takes a bit longer, around 3-4 weeks, and your flowers will be flatter, which might be perfect for some resin designs.
Prepare Your Workspace
To guarantee a successful resin art project, begin by choosing a clean and well-ventilated area to prepare your workspace. Workspace safety is essential to prevent any potential mishaps and to ascertain that the resin cures properly. The ventilation importance cannot be overstated, as working with resin materials in a well-ventilated area helps to dissipate any fumes and maintains a healthy environment.
Here are some steps to create an ideal workspace:
- Protective Covering: Use wax paper or silicone mats to cover your workspace. This prevents resin spills from sticking and makes cleanup easier.
- Organized Materials: Gather all your necessary materials and tools, such as epoxy resin, hardener, mixing cups, stir sticks, gloves, and dried flowers. Keeping everything within easy reach will streamline your workflow.
- Stable Temperature: Maintain a room temperature between 70°F to 75°F (21°C to 24°C). This range positively influences curing times and helps achieve a smooth finish.
Mix the Resin
Accurate resin mixing is essential to achieving a high-quality, bubble-free finish in your resin art project.
Start by carefully reading the manufacturer's instructions to get the correct ratio of resin to hardener, usually a 1:1 mix. This is super important—no guesstimates allowed! Use separate cups for each component to guarantee exact measurements and avoid contaminating your materials.
When it comes to mixing techniques, slow and steady wins the race. Stir the resin mixture slowly for about 3-5 minutes. This helps prevent air bubbles from forming, which can mess with the clarity of your final piece. Think of it like gently stirring a pot of soup—no splashing!
After mixing, let the resin sit for a few minutes. This resting period is like a mini-vacation for your resin, allowing any pesky bubbles to rise to the top where you can easily remove them. If you see any surface bubbles, use a heat gun or butane torch to zap them away.
Resin safety is also key. Make sure you're in a well-ventilated area and wear gloves to protect your skin. Safety first, always!
With these steps covered, you're ready to move on to the fun part.
Arrange the Flowers

Now it's time to arrange the flowers, which is like putting together a beautiful puzzle.
Start by planning where each flower will go to make sure they fit well and look great together.
Use tweezers to place the flowers carefully, thinking about their colors and sizes to create a balanced and eye-catching design.
Optimal Flower Placement
Arranging dried flowers in resin requires careful consideration of their size, shape, and positioning to guarantee a balanced and aesthetically pleasing final product.
When thinking about flower color combinations and flower texture contrasts, you'll want to create a visually interesting piece that draws the eye.
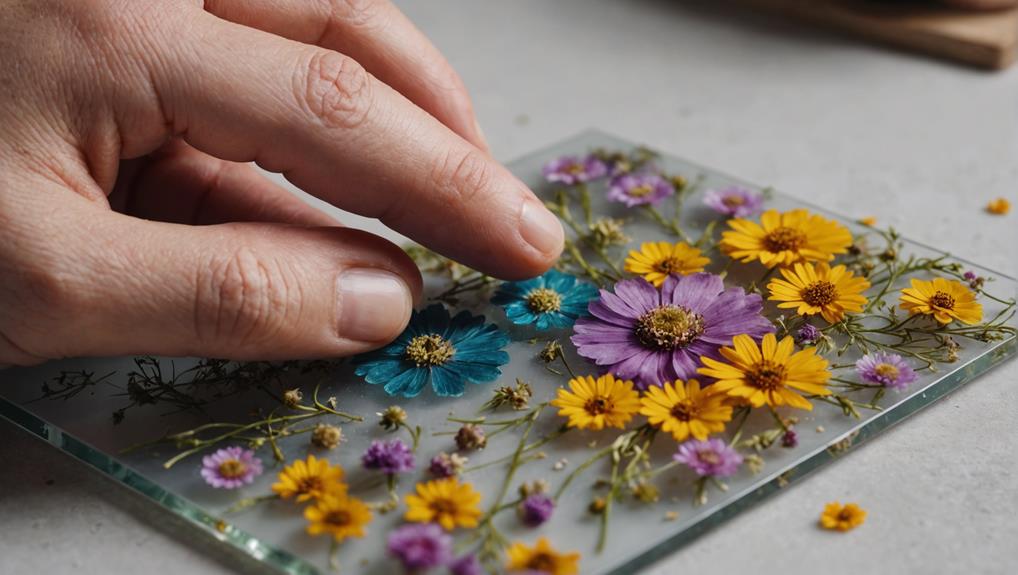
Before you start, lay out your flowers on a flat surface to experiment with different arrangements. This helps you see how the colors and textures work together. Once you're happy with the look, use tweezers to place each flower precisely in the mold.
Here are some tips to keep in mind:
- Size Matters: Smaller, flatter flowers are easier to position and embed without floating.
- Layering: Pour a thin layer of resin first, let it partially cure, then add more flowers and resin to keep everything in place.
- Avoid Overcrowding: Leave space between flowers for visibility and to let the resin flow evenly around them.
Design Layout Tips
Creating an engaging design layout involves strategically mixing different flower types, sizes, and colors to achieve a balanced and visually appealing composition. This guarantees aesthetic balance and visual harmony, making your resin art truly stunning.
Start by choosing a variety of dried flowers that complement each other. Don't just grab any flower; think about how their colors and sizes work together.
Use tweezers to place each flower precisely where you want it. This helps keep the flowers flat against the surface, preventing them from floating when you pour the resin. Before committing, sketch or photo-map your design. This step helps you visualize how the flowers will interact within the resin, avoiding last-minute chaos.
Consider layering for extra depth. Pour a thin layer of resin first and let it partially cure. Then, add more flowers and resin. This makes your artwork look multi-dimensional and super cool!
But remember, don't overcrowd the mold. Leave some space between the flowers. This keeps the resin clear and allows it to flow evenly around each piece.
Creating resin art with dried flowers can be like solving a fun, beautiful puzzle. With these tips, you're well on your way to making something amazing!
Pour the Resin
Begin by pouring a thin base layer of mixed resin into the mold to establish a stable foundation for the dried flowers. Selecting the appropriate resin type is vital; epoxy resin, for example, is often preferred for its clarity and durability.
When employing pouring techniques, make certain the resin spreads evenly by tilting the mold gently, avoiding air bubbles that could mar the final piece.
Once the base layer is in place, let it partially cure for about 30 minutes. This allows you to position the dried flowers without them sinking or shifting.
- Carefully arrange the dried flowers on the semi-cured layer.
- Make certain they are evenly spaced and not overcrowded.
- Slowly pour additional resin over the flowers to fully submerge them.
After pouring the resin, monitor the surface for any imperfections. Bubbles can be pesky, but a quick pass with a heat gun or torch will usually do the trick, smoothing out the surface.
This step is essential for achieving a flawless finish and making sure your dried flowers remain perfectly visible within the resin, creating an art piece that's both stunning and durable.
Cure and Finish

To achieve a flawless resin art piece, guarantee the curing process occurs in a controlled, dust-free environment for the specified duration outlined by the manufacturer. Typically, resin cure times range from 24 to 72 hours. Be patient! During this period, keep your artwork away from direct sunlight and extreme temperatures to prevent any warping or discoloration.
Once your resin has fully cured, it's time for the big reveal. Carefully demold the piece by gently flexing the silicone mold. Don't rush this step; you don't want to damage your hard work. Now, examine your masterpiece. Are there any rough edges or imperfections? Grab some fine-grit sandpaper and smooth them out. Take your time here—it's all about the details.
Next up are the finishing techniques. To give your piece that extra shine and protect it from scratches and UV damage, consider applying a clear resin polish or wax. This step might seem small, but it makes a huge difference. Your art will look more vibrant and last longer. So, polish away and watch your creation truly come to life!
Frequently Asked Questions
How Do You Make Resin Art With Dried Flowers?
To make resin art with dried flowers, use proper resin mixing techniques, ensuring a 1:1 resin to hardener ratio. Choose vibrant, flat flower types. Pour a base resin layer, arrange flowers, and encapsulate them with additional resin.
Do You Dry Flowers Before Putting Them in Resin?
Yes, drying flowers before embedding them in resin is essential. Effective flower preservation techniques, such as using silica gel or pressing, prevent decomposition and discoloration. For best results, adhere to resin safety tips throughout the process.
How Do You Suspend Dried Flowers in Resin?
To suspend dried flowers in resin, guarantee careful flower selection and mix epoxy resin properly. Pour a thin base layer, arrange the flowers, and complete with additional resin. Resin curing should be done in a dust-free environment.
What Is the Best Resin for Preserving Dried Flowers?
The best resin for preserving dried flowers is epoxy resin due to its durability and clarity. Among resin types, epoxy guarantees vibrant flower selection display, while UV-resistant variants prevent yellowing, maintaining the flowers' original appearance over time.
Conclusion
To summarize, creating stunning resin art with dried flowers involves a series of careful steps: gathering supplies, selecting and drying flowers, preparing the workspace, mixing the resin, arranging the flowers, pouring the resin, and allowing it to cure and finish.
Each step requires attention to detail and patience to guarantee the final piece is both beautiful and durable.
This process not only results in a unique piece of art but also preserves the natural beauty of flowers in a lasting form.


Leave a Reply