Creating your own resin geode wall art is an exciting way to bring natural beauty and personal flair into your home. Start by understanding the art form, which blends epoxy resin, vibrant mica powders, and pigments for stunning effects. Choose high-quality resin to avoid yellowing and bubbles, and select a harmonious color palette. Gather essential supplies like protective gear, heat guns, and decorative elements. Sketch your design on a suitable canvas, then pour the resin steadily, adding layers of color and texture. Use heat tools for perfect blending and finish with a glossy top coat. Want to know all the secrets? Keep going!
Key Takeaways
- Understand geode art by using epoxy resin, mica powders, and metallic pigments for vibrant, three-dimensional designs on canvas or wooden panels.
- Select high-viscosity, self-leveling epoxy resin to prevent color mixing, yellowing, and bubbling, and ensure proper curing at 21-24°C.
- Follow the 60-30-10 color distribution rule, using high-quality pigments and experimenting with small tests for unique effects before larger projects.
- Gather essential supplies such as epoxy resin, pigments, protective gear, measuring tools, and a heat gun for bubble removal.
Understanding Geode Art
Geode art, an artistic interpretation of natural geodes, employs epoxy resin to recreate the vibrant and crystalline structures found in geological formations. This type of art isn’t just pretty; it carries deep geode symbolism, often representing transformation, harmony, and inner beauty.
Imagine you’re holding a real geode—a rough, dull rock on the outside, but inside, it’s a treasure trove of colors and crystals. Geode art captures this magical transformation through various artistic techniques.
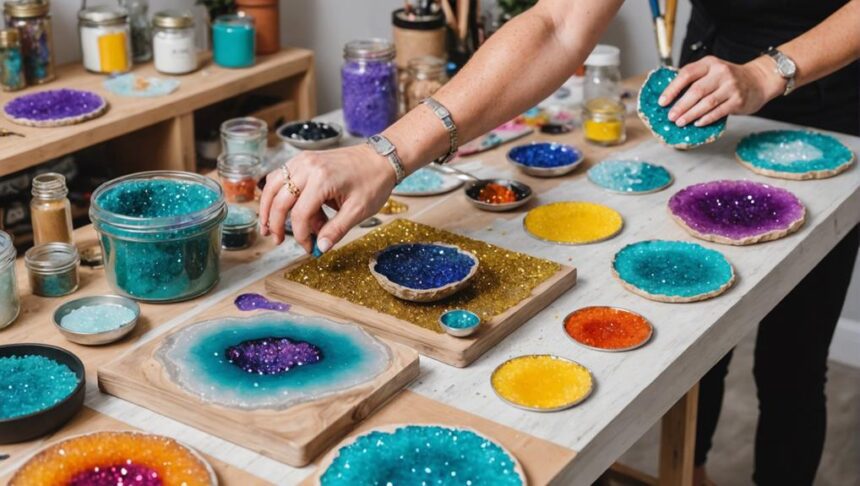
In creating geode art, artists use pigments like mica powders and metallic pigments to mimic the stunning hues found in nature. Picture vibrant blues, rich purples, and sparkling golds coming together in a mesmerizing dance. By pouring resin onto a canvas or wooden panel, artists can create a three-dimensional effect that gives the piece depth and realism.
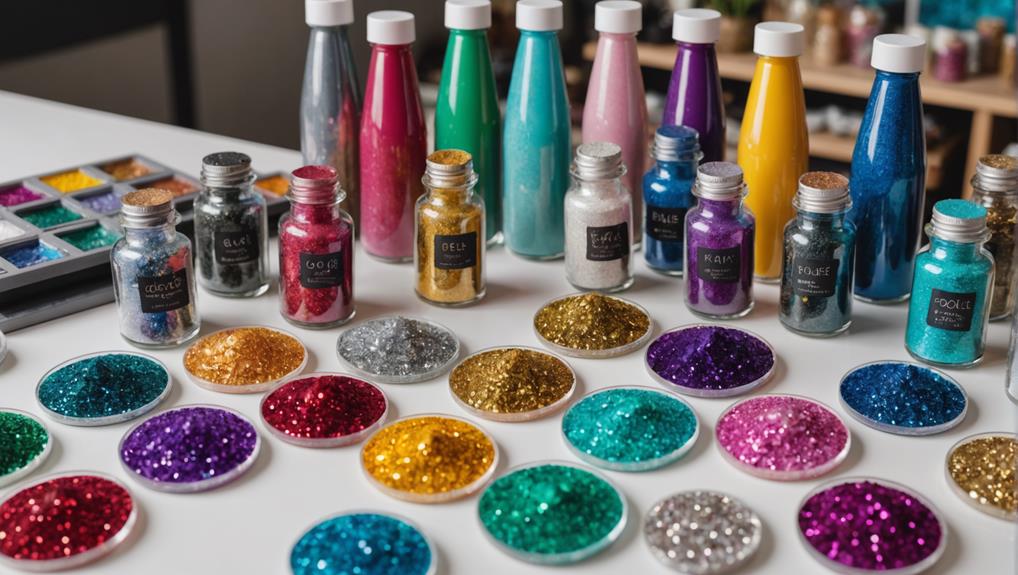
Adding extra touches like glitter, crystals, and metallic highlights makes the artwork pop even more, mimicking the intricate details of real geodes.
What’s really cool is the level of experimentation that goes into geode art. Each artist brings their own flair, creating unique designs that reflect their personal style. They often document their creative process, sharing tips and tricks with the community, which keeps the art form evolving and vibrant.
Selecting the Right Resin
Choosing the right resin is super important for making amazing geode art.
You want a high-viscosity epoxy resin to keep your design stable, and a self-leveling one to guarantee a smooth surface.
Always pick high-quality resin to avoid problems like yellowing or bubbling.
Remember to test a small batch first to make certain everything works perfectly.
Viscosity and Stability
Selecting a high-viscosity epoxy resin is paramount for ensuring the stability and integrity of your resin geode wall art. The viscosity effects play a vital role, as high-viscosity resins prevent colors from mixing unintentionally during the curing process, which is super important for achieving those stunning, distinct layers in your design.
Imagine pouring your resin, only to find it all mixed up like a messy watercolor! Not cool, right? Low-viscosity resins can lead to a runny design, compromising the stability of your geode art. You want something with the thickness of room-temperature honey. This helps maintain the design you’ve carefully planned out, rather than creating a colorful chaos. Stability importance cannot be overstated here; it’s the difference between a masterpiece and a mishap.
Self-leveling properties of some resins can also sneak in and alter your intended layering effect. So, always choose a resin that aligns with your vision. Make sure to check the manufacturer’s instructions for the best performance. You don’t want to miss out on those essential details!
With the right resin, your geode art will be the talk of the town, or at least your living room.
Curing Time Considerations
Understanding the curing time of your selected resin is essential to achieving the desired outcome for your resin geode wall art. Knowing how long the resin takes to set can make or break your project. High-viscosity epoxy resin is a great choice, as it offers better stability and keeps your design intact during curing.
Typical curing times for epoxy resin range from 24 to 72 hours. But, keep in mind, environmental effects like temperature and humidity can speed up or slow down this process. Resin loves room temperatures around 21-24°C (70-75°F). Too hot, and you might get bubbles or cloudiness. Too cold, and it might not harden properly.
Curing techniques are vital. You have about 40-50 minutes of working time, so plan your design quickly but carefully. Also, mixing small batches before diving into the big project can help you understand how the resin behaves with your colors and additives.
Quality and Testing
Guaranteeing the quality of your epoxy resin is paramount to achieving the desired aesthetic and structural integrity of your geode wall art. High-viscosity resins are essential because they keep your design stable during pouring. You don’t want your masterpiece to turn into a mess due to unwanted alterations! Self-leveling epoxy resins are another great choice since they maintain the design’s integrity while providing a smooth finish. However, be cautious—too much fluidity can mess up your initial design.
Now, let’s avoid the nightmare of unsightly bubbles and layout issues by steering clear of low-quality resins. They might not cure properly or bond well with your color pigments. Trust me, you don’t want to see your hard work go to waste. Also, don’t forget to check the curing time and temperature range. Typically, 21-24°C or 70-75°F works best for a clear, flawless finish.
Before jumping into a big project, conduct small batch tests. This allows you to evaluate the resin’s performance with your chosen pigments and pouring techniques.
| Resin Type | Pros | Cons |
|---|---|---|
| High-Viscosity | Guarantees stability, fewer unwanted changes | Can be harder to mix |
| Self-Leveling | Smooth finish, maintains design integrity | Excessive fluidity may alter design |
| Low-Quality | None | Bubbles, poor curing, bad bonding |
Choosing Your Color Palette

Crafting a visually enchanting resin geode wall art piece begins with the thoughtful selection of a harmonious or contrasting color palette. The right colors can make your artwork pop and evoke the natural beauty of real geodes. To achieve this, you should focus on color harmony and pigment variations.
Think about these key points when choosing your colors:
- 60-30-10 Rule: Allocate 60% to your dominant color, 30% to a secondary color, and 10% to an accent color.
- High-Quality Pigments: Use mica powders and metallic pigments for vibrant, shimmering colors.
Experimenting with different pigment amounts can lead to unique shades and effects. Blending various colors lets you customize your palette even more.
Testing your color combinations on smaller pieces before diving into a big project is a smart move. This way, you can see how the colors interact when the resin is poured.
Gathering Essential Supplies
With your color palette selected, the next step involves gathering the essential supplies to bring your resin geode wall art to life.
Start with supply sourcing: you’ll need epoxy resin parts A and B, color pigments (mica powders are great for vibrant hues), and decorative inclusions like glitter or crystals to enhance the geode effect.
Safety is key! Grab protective gear such as gloves, a mask, and safety glasses. Resin can be messy and its fumes can be harmful, so you want to stay safe.
Set up a level workspace covered with plastic sheeting to catch any spills. A clean, organized area will make your crafting experience much smoother.
When it comes to tool selection, make sure you have measuring cups for accurate resin mixing, and a spatula for thorough blending.
A heat gun or torch is essential to eliminate bubbles after you pour the resin.
Sketching Your Design

Begin by selecting a canvas size that aligns with your artistic vision, such as a 10 x 10 or 12 x 12 inch frame, to serve as the foundation for your geode design.
Once you’ve got your canvas, it’s time to immerse yourself in sketching techniques. Using a pencil, lightly sketch the outline of your geode shape, incorporating curves and organic lines to mimic natural geode formations. Think of the mesmerizing geodes you’ve seen, and let that serve as your design inspiration.
When planning your color palette, choose 2-3 complementary colors that will make your geode art pop. This is where you get to play with your favorite hues and create something truly unique!
As you sketch, indicate areas where you might want to add some glitter, crystals, or metallic accents. Visualizing these elements now will help you see how they’ll interact with the colored resin later.
- Choose 2-3 complementary colors for your palette.
- Indicate areas for glitter, crystals, or metallic accents.
Pouring the Resin
To achieve a stunning geode effect, make certain the resin mixture reaches a room-temperature honey consistency before initiating the pour. If it’s too runny, it can mess up your design. So, patience is key here!
When you start pouring, use slow and steady pouring techniques to control the resin flow. Pour the colored resin into the designated sections on your canvas, following the lines of your sketch. This helps keep the geode design intact and looking sharp.
After you’ve poured the resin, use a heat gun or torch to pop those sneaky bubbles that might have formed. Nobody wants a bumpy geode, right? This step makes sure your piece has a smooth, glass-like finish.
Layering is where the magic happens. Pour different colors of resin gradually—this adds depth and dimension. Let the colors blend just a bit for that natural, mesmerizing geode effect.
Once you’re happy with your masterpiece, keep an eye on it as it cures. Depending on the resin you’re using, it could take anywhere from 24 to 72 hours to fully set. Patience pays off big time here, trust us!
Adding Textures and Details
Incorporating textures and details into your resin geode wall art can enhance its visual appeal and create a more dynamic piece. By using texture techniques and decorative elements, you can add depth and interest to your artwork, making it truly stand out.
To achieve this, consider incorporating these key elements:
- Crushed glass, glitter, or metallic foil: Adding these materials while the resin is still tacky helps them adhere better and creates a stunning, layered look.
- Heat tools: Use a heat gun to gently blend colors and form unique patterns, but be careful not to overheat the resin and cause blowouts.
When placing decorative elements such as crystals or glitter, use tweezers or small tools to guarantee precision while the resin remains workable.
Layering different textures and materials can also be effective. Allow each layer to partially cure before adding the next, building a visually dynamic and textured geode effect.
These texture techniques and decorative elements not only enhance the visual appeal of your resin geode wall art but also make the creative process more enjoyable and fulfilling.
Final Touches and Curing
Applying final touches and allowing the resin to cure properly are essential steps in ensuring the durability and aesthetic quality of your geode wall art. After you’ve poured the final layer of resin, it’s imperative to apply a thick, even flood coat. This final coating not only seals your masterpiece but also adds a glossy finish that makes the colors pop.
Now, let’s talk about bubble management. Bubbles can be pesky, but don’t worry! To get rid of them, gently use a heat gun or torch to pop them. Just be careful not to overheat the resin, or it might not set right. Think of it like toasting marshmallows—light and quick!
Once you’re satisfied, cover your artwork to keep dust away. This keeps everything clean and smooth. The resin usually takes about 24-72 hours to cure, depending on the brand, so patience is key here. After it’s fully cured, carefully remove any masking tape for those crisp edges.
For an extra touch of glam, consider adding a mix of acrylic varnish and Gilded Gold to highlight edges and accents. This makes your geode wall art truly stand out and shimmer!
Frequently Asked Questions
What Resin Is Used for Geode Art?
For geode art, high-viscosity epoxy resin is preferred due to its stability and glossy finish. Incorporating mica powders and metallic color pigments enhances the aesthetic, while avoiding low-quality resin guarantees a flawless final product.
How to Do Resin Art Beginners?
To begin resin art as a beginner, focus on proper resin mixing to avoid air bubbles. Gradually add pigments and practice color layering to achieve desired effects. Guarantee a well-prepared workspace and follow curing guidelines for ideal results.
How to Make Resin Art Wall Hanging?
To create a resin art wall hanging, begin by selecting design inspiration and sketching your desired pattern. Utilize precise color mixing with quality pigments, apply in layers, and incorporate decorative elements before allowing the resin to cure.
Can You Do Geode Resin Art on Canvas?
Yes, geode resin art can be effectively created on canvas. Proper canvas preparation, including priming with acrylic paint or Mod Podge, is essential. Additionally, meticulous color mixing following the 60-30-10 rule guarantees a visually appealing outcome.
Conclusion
Creating DIY resin geode wall art involves understanding the art form, selecting appropriate materials, planning a design, and executing each step with precision.
The process begins with a careful selection of resin and colors, followed by sketching the design.
The resin is then poured and textured to mimic natural geodes.
Final touches and proper curing complete the masterpiece.
This methodical approach guarantees the creation of visually stunning and enduring geode-inspired artworks.


Leave a Reply