Creating stunning resin tree trunk art is like crafting a masterpiece from nature’s own supplies. Start by gathering essential materials such as sculptable epoxy, armature wire, paints, and safety gear. Choose a beautiful, pest-free tree trunk, preferably dead lagerstroemia or birch, ensuring it has unique features like knots and cracks. Prepare your workspace for efficiency and cleanliness, then clean, trim, and sand your trunk meticulously. Mix epoxy resin carefully, pour it onto your prepared trunk, and use a heat gun to remove bubbles, creating that crystal-clear finish. With patience and creativity, you can turn an everyday tree trunk into an extraordinary piece of art. Curious about each step?
Key Takeaways
- Select and assess a suitable tree trunk, ensuring it’s free from rot and pests for long-lasting artwork.
- Prepare your workspace with proper ventilation, protective materials, and a level surface for optimal resin application.
- Thoroughly clean, trim, and sand the trunk to remove debris and create a smooth surface for resin adhesion.
- Mix epoxy resin and hardener in a 1:1 ratio, stir well, and use a heat gun to remove air bubbles.
Materials Needed
To create exquisite resin tree trunk art, it is imperative to gather essential materials including sculptable epoxy, armature wire, various paints and finishes, sculpting tools, and safety gear.
First up, let’s talk about sculptable epoxy. This stuff is amazing! It’s not just any epoxy; it’s designed for shaping. You can mold it into detailed tree trunks and branches. There are different epoxy types out there, so pick one that’s high-quality and easy to work with.
Next, you need armature wire. This wire forms the backbone of your tree. Think of it as the skeleton that holds everything together. You’ll use various armature techniques to bend and twist the wire into the shape of a tree.
Now, onto the fun part—paints and finishes. You have to use a mix of paints to get that realistic bark look. Opaque paints cover the surface, while transparent ones add depth and protection.
Don’t forget your sculpting tools! Knives, spatulas, and brushes are your best friends here. They help you add texture and detail.
Preparing Your Workspace
Selecting a well-ventilated area is essential for your workspace to minimize exposure to resin fumes and confirm safety during the mixing and pouring process. Trust me, you don’t want to be breathing in those fumes! Good ventilation is critical, so open windows or use fans to keep the air flowing.
Let’s explore some key workspace safety and ventilation tips to get you started.
First, cover your work surface with a protective material like a tarp or plastic sheeting. This will catch any spills and prevent damage to your table or floor. Plus, you’ll save yourself a lot of cleanup time later.
Second, make certain that your workspace is level. An uneven surface can lead to resin pooling in weird places, creating an unwanted mess. Use a spirit level to check your table before you start.
Third, gather all necessary materials and tools beforehand. This includes measuring cups, stir sticks, and heat guns. Having everything within arm’s reach will streamline the process and keep you focused.
Choosing the Tree Trunk
When choosing the perfect tree trunk for your resin art, start by looking for a dead lagerstroemia or birch tree, as these offer a beautiful structure.
Make sure the trunk is in good condition—no rot or pests allowed—because you want your artwork to last.
Think about the size and unique features like knots or cracks, which can add character and make your piece truly special.
Selecting Ideal Trunk
The foundation of exceptional resin tree trunk art lies in carefully choosing a dead or dry trunk to mitigate moisture complications during the resin application process. This initial step is vital for guaranteeing that your artwork remains durable and visually appealing over time.
When selecting your tree trunk, focusing on trunk aesthetics and texture variety can greatly enhance the final result.
Consider these three key factors:
- Unique Shapes and Textures: Look for trunks with enchanting shapes and interesting textures. These features will add depth and character to your artwork, making it stand out.
- Structural Integrity: Confirm the trunk is free from rot or major damage. A compromised structure can lead to issues down the line, so a solid, intact trunk is essential.
- Size and Natural Base: The trunk should fit the intended display space and complement your overall design. Opt for trunks with a natural base or roots, which can be seamlessly integrated into the resin application for a more dynamic look.
Tree Condition Assessment
Evaluating the condition of the tree trunk is fundamental to guaranteeing the longevity and aesthetic quality of your resin art piece. First, assess the overall tree health. Look for signs of rot, decay, or pest infestation, as these can greatly affect the durability of your artwork. It’s vital to confirm the trunk is free from pests and structural weaknesses.
Unique features like interesting grain patterns, knots, or natural cracks can enhance the visual appeal of your resin art. These elements add character and can make your piece truly one-of-a-kind.
Also, make certain the trunk is adequately dried. This process can take several months but is essential to prevent size changes and moisture issues during resin application.
Lastly, consider the size and shape of the trunk. It should fit well in your intended display area and match your artistic vision. The trunk must be sturdy and stable enough to support the weight of the resin and any additional decorative elements.
Here’s a quick reference table to help with your assessment:
| Aspect | Importance | Notes |
|---|---|---|
| Tree Health | Guarantees longevity | Check for rot and decay |
| Pest Inspection | Prevents infestation | Look for signs of pests |
| Unique Features | Enhances visual appeal | Grain patterns, knots, cracks |
| Dryness | Prevents size changes and moisture issues | Dry for several months |
Sourcing and Preparation
Selecting the right tree trunk is an essential step in creating a stunning resin art piece. Choosing a dead lagerstroemia trunk is a great start due to its aesthetic appeal and unique texture. This type of wood can greatly enhance the overall look of your artwork. But before diving into the creative process, you need to prepare the trunk carefully.
First, let’s talk about wood selection. Picking a trunk that is already dead guarantees that it won’t decay further, which is critical for longevity.
Next, consider aesthetic considerations. Think about the shape and height of the trunk. You want it to fit perfectly in your intended display space.
Finally, make certain it’s thoroughly cleaned and trimmed, removing any loose bark or debris.
Here’s a quick checklist to get you started:
- Drying Time: Allow the trunk to dry for several months to avoid size changes from moisture loss.
- Sanding: Sand the trunk extensively. This will make it smoother and help the resin adhere better.
- Shape Adjustments: Trim and shape the trunk as needed to fit your design.
Cleaning and Trimming
Cleaning and trimming your tree trunk is like giving it a fresh haircut and bath before the big art show.
Start by carefully digging around the roots to free the tree without causing any damage.
Then, trim away any unnecessary branches and roots to shape it beautifully.
Preparing the Tree
To prepare the tree for transformation into a stunning resin art piece, begin by carefully digging out the dead lagerstroemia tree, ensuring minimal disturbance to its roots and the surrounding area. This step is vital for maintaining the natural integrity of the tree, which is essential for both tree preservation techniques and drawing from various artistic inspiration sources.
Once the tree is out, thoroughly clean it by removing any dirt, debris, and loose bark. This not only enhances its aesthetic appeal but also prepares it for further treatment.
Here’s a simple guide to follow:
- Remove Dirt and Debris: Use a brush or a cloth to gently scrub away any dirt clinging to the tree. Be thorough but gentle to avoid damaging the bark.
- Eliminate Loose Bark: Carefully peel away any loose bark. This helps in revealing the tree’s true form and makes the surface smoother for resin application.
- Trim Branches and Roots: Trim any excess branches and roots to shape the tree to your desired height and form. This is also the time to think about how you want your final piece to look.
Trimming for Aesthetics
With the tree now prepared, the next step involves carefully trimming and cleaning the trunk to enhance its aesthetic appeal and guarantee a smooth surface for resin application.
Begin by ensuring the trunk is free from dirt and debris. Use pruning shears to trim away any unwanted branches or protrusions. This part is key to achieving aesthetic balance. Picture a tree in a fancy garden—every branch is perfectly placed. That’s what you’re aiming for.
Next, grab some sandpaper and get ready to smooth out rough edges. Sanding not only helps the resin stick better but also makes the natural wood grain pop, which will look amazing once you apply the resin. Pay close attention to the height and overall silhouette of the trunk. It’s like giving your tree a stylish haircut. Make multiple adjustments if you need to get that perfect look.
After you’re done trimming, take a good look at the trunk. Are there any cracks or imperfections? Don’t worry! These can actually add character. Consider highlighting them with a bit of paint to make your piece even more unique.
Now, you’re ready for the next exciting step—resin application!
Sanding the Wood
Sanding the wood is a vital step to secure a smooth surface, enhancing both the adhesion and the final appearance of the epoxy resin.
When it comes to sanding techniques, you want to start with a coarse grit sandpaper—think 80 to 120 grit. This helps to get rid of rough spots and shape the wood. As you sand, always move in the direction of the wood grain. This way, you avoid scratches and achieve a more polished look.
Now, let’s talk grit selection. Once the initial rough sanding is done, you should move to finer grits, working your way up to 220 grit. This progression guarantees that the surface becomes smoother and more refined.
Here’s a quick guide:
- Start with 80-120 grit: This removes rough spots and shapes the wood.
- Move to 150-180 grit: This refines the surface further.
- Finish with 220 grit: This gives you that silky-smooth finish, perfect for resin application.
After sanding, don’t forget to clean the surface with a damp cloth to remove any dust and debris. This step is essential for ideal resin adhesion and reduces the chance of air bubbles forming.
Surface Preparation
Before applying epoxy resin to your tree trunk, thorough surface preparation is essential to guarantee ideal adhesion and a flawless finish.
Start by giving the tree trunk a good cleaning. Use a brush or cloth to remove any dirt, dust, or debris. This step is significant because any leftover grime can mess up the adhesive properties of the resin.
Next, it’s time to get a little dusty! Sand the surface of the tree trunk to enhance its texture. This sanding creates tiny pores that help the resin stick better. Think of it like giving your tree trunk a bit of a rough makeover so the resin can grip it tightly.
Don’t forget to use painter’s tape to mask off any areas you don’t want the resin to touch. This will make cleanup much easier later on.
Also, make sure the trunk is completely dry. Any moisture can cause bubbling or prevent the resin from curing properly.
Mixing Epoxy Resin
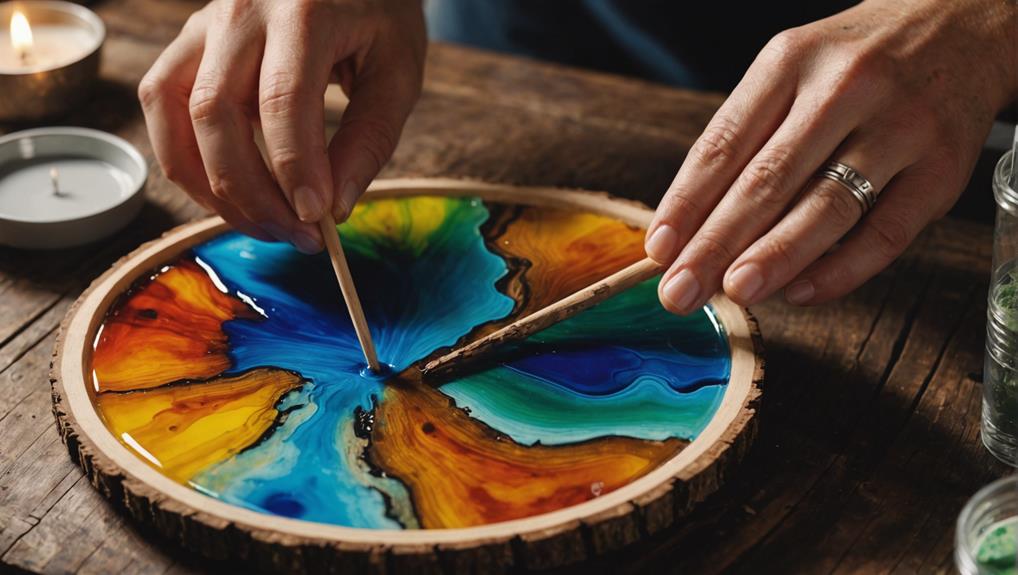
Accurately mixing epoxy resin is an essential step to guarantee a durable and professional finish on your tree trunk art project. Getting the resin ratios spot on is vital, typically a 1:1 volume ratio of resin (Part A) to hardener (Part B). Following the manufacturer’s instructions is non-negotiable; it’s the difference between a masterpiece and a sticky mess!
Mastering the mixing techniques involves a few key steps:
- Thorough Mixing: Stir the resin and hardener together for 3-5 minutes. Scrape the sides and bottom of the mixing cup to confirm no unreacted components are left behind.
- Air Bubble Minimization: Pour the resin and hardener down the side of the cup to avoid introducing air. Vigorous stirring is a no-go; it creates pesky bubbles that can ruin your finish.
- Settle Time: Allow the mixed resin to sit for about 2 minutes after stirring. This lets trapped air bubbles rise to the surface.
Once the resin is mixed properly, it’s ready for the next steps in your project. But remember, patience is key! A heat gun or torch can help eliminate any remaining air bubbles after pouring. With these techniques, your tree trunk art will look nothing short of stunning!
Adding Colorants
With your epoxy resin mixed to perfection, the next step is to enhance your tree trunk art with the addition of colorants. The choice of colorants is essential; use compatible options like acrylic or alcohol-based pigments to guarantee vibrant results without compromising the resin’s integrity. Start with small amounts of pigment, gradually increasing until you achieve the desired intensity. This approach prevents overwhelming the mixture and allows for precise control over the final hue.
Experiment with additives like silicone oil or alcohol to create unique effects, such as cells or lacing. These additives can bring a dynamic, almost magical quality to your artwork. Layer different colors by pouring them separately and letting them blend naturally. This technique adds depth and complexity to your piece.
Pigment Compatibility Guidelines | Color Mixing Techniques | Effects
— | — | —
Use acrylic or alcohol-based pigments | Start with small amounts, increase gradually | Add silicone oil for cells
Test on small samples | Pour separately for layering | Use alcohol for lacing
Guarantee vibrant results | Control final hue precisely | Dynamic visual effects
Prevent resin integrity issues | Avoid overwhelming mixture | Depth and complexity
Always test your colorants on small samples before full application to see how they interact during curing. This way, you’ll avoid surprises and guarantee that your creation turns out just as you envisioned.
Pouring the Resin
Making certain your workspace is clean and well-ventilated is vital before you begin the resin pouring process. This helps minimize dust and fumes, creating a safer environment for your artistic endeavors.
Now, let’s explore the resin pouring techniques to get that smooth, glassy finish.
First, make sure you have a mold specifically designed for your tree trunk art. This mold will help the resin flow evenly around your creation.
Next, mix the resin and hardener according to the manufacturer’s instructions. Here’s a quick guide to keep you on track:
- Follow the 1:1 volume ratio: This is essential for the resin to cure properly.
- Pour slowly down the side of the mold: This reduces air bubbles and guarantees a consistent finish.
- Leave it undisturbed for 24-72 hours: Patience is key for achieving full hardness and clarity.
Removing Air Bubbles
In creating stunning resin tree trunk art, removing air bubbles is essential for a smooth finish.
Start by pouring the mixed resin slowly to prevent bubbles from forming in the first place.
Then, use tools like a heat gun or torch to gently pop any remaining bubbles, ensuring a crystal-clear surface that lets your creativity shine through.
Proper Mixing Techniques
To achieve a bubble-free resin mixture, pour the resin and hardener down the side of the mixing cup to reduce agitation and air incorporation. This step is essential because mixing mistakes like pouring too quickly can lead to unwanted bubbles. Ensuring the correct resin ratios, typically a 1:1 volume ratio, is equally important.
Here are some key tips to help you mix resin properly:
- Gentle Stirring: Stir the mixture gently for 3-5 minutes. Press the stirring utensil against the bottom of the cup to minimize air incorporation while ensuring thorough mixing.
- Let It Sit: After mixing, let the resin sit for about 2 minutes. This waiting period allows any trapped air bubbles to rise to the surface before you start pouring it onto your tree trunk art.
- Avoid Overheating: Once poured, use a heat gun or torch in a sweeping motion to eliminate any remaining bubbles. Be careful not to overheat and damage the resin.
Effective Bubble Removal Tools
Eliminating air bubbles from resin is essential for achieving a flawless finish in your tree trunk art. One of the most effective bubble removal techniques involves using a torch or heat gun. Just sweep it over the resin in a smooth motion. But be careful! Don’t overheat any area, or you’ll end up with a mess.
Another simple method is blowing on the surface with a straw. It sounds funny, but this increases airflow and helps pop those pesky bubbles without messing up your resin.
Before you even start pouring, let the mixed resin sit for about 2 minutes. This waiting time allows the air bubbles to rise to the surface, making them easier to eliminate. When you’re mixing the resin, try pressing the stirring utensil against the bottom of the mixing cup. This trick helps with air bubble prevention by stopping air from getting trapped in the mixture.
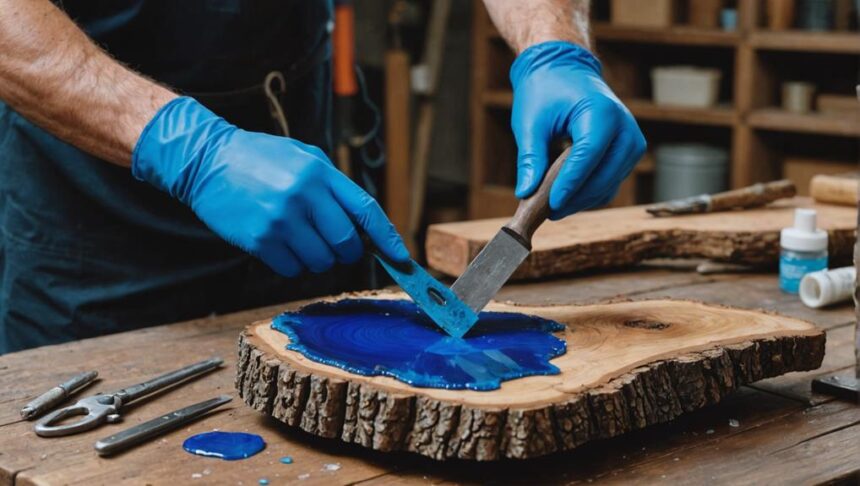
Using tools like a silicone spatula or palette knife can also make a big difference. These tools help spread the resin smoothly and push out bubbles that form along the edges.
With these bubble removal techniques, your resin tree trunk art will look amazing!
Curing the Resin
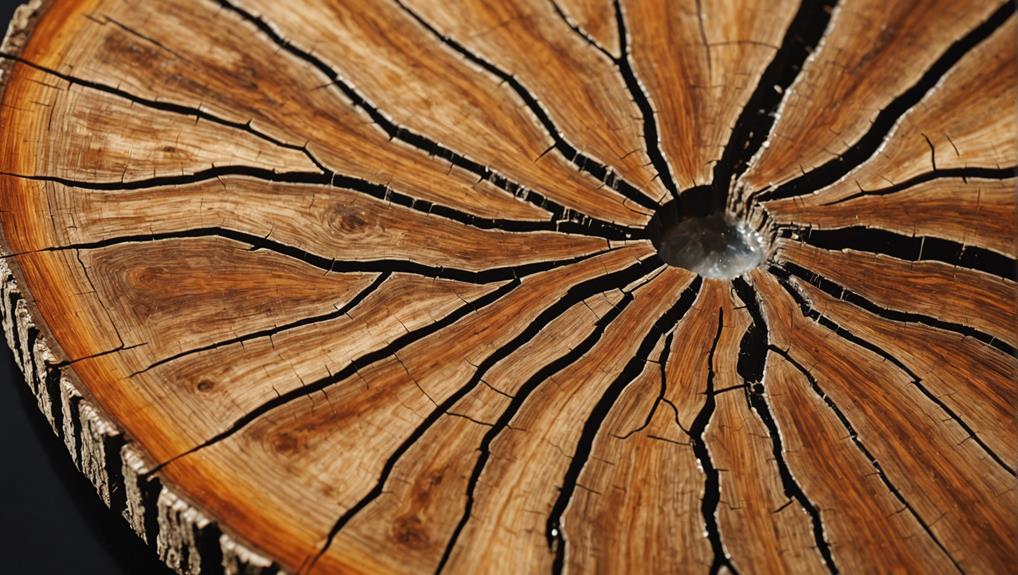
Securing a proper curing environment is vital for achieving a flawless finish in resin tree trunk art. The curing techniques and environmental factors play a significant role in determining the final quality of your piece. Here’s how to get it right:
- Curing Time and Temperature: Epoxy resin typically cures within 24 to 72 hours, but complete hardness might take up to 7 days. Maintain a stable temperature, ideally between 70°F and 75°F, to avoid issues like bubbles or uneven curing. Extreme temperatures can mess things up, so keep an eye on that thermometer!
- Dust-Free Workspace: A dust-free environment is essential. Even the tiniest speck of dust can ruin your masterpiece. Cover your artwork with a protective layer to keep dust and debris away. Just make sure it doesn’t mess with air circulation too much.
- Ventilation: Good ventilation helps guarantee that the resin cures properly. However, don’t let strong drafts hit your artwork, as they can introduce dust or cause uneven curing.
Protecting the Artwork
To guarantee your resin tree trunk art stays beautiful, it’s essential to protect it from dust and other particles while it cures.
Covering your artwork immediately after pouring and keeping the area well-ventilated but free of strong air currents can help maintain a clean surface.
Additionally, place your finished piece away from direct sunlight and temperature vents to prevent yellowing and preserve its integrity over time.
Dust Protection Tips
Shielding your epoxy art from dust and debris during the curing process is essential to maintain its pristine finish. Dust control strategies are important to guarantee your resin tree trunk art remains flawless. Proper workspace organization can greatly reduce the risk of dust contamination. Here are some tips to protect your creation:
- Cover Your Artwork: Use a clean cloth or plastic sheet to cover your epoxy art. This simple step helps keep dust and debris off the surface while the resin cures, which can take anywhere from 24 to 72 hours.
- Control Airflow: After mixing your resin, turn off air conditioners and fans. This helps prevent dust particles from swirling around and settling on your artwork. Proper ventilation is essential, but minimizing airflow is key to dust control.
- Mist the Air: Lightly misting the air with water can help settle dust particles. The moisture causes dust to fall to the ground instead of landing on your masterpiece. Just be careful not to spray directly onto the resin.
Optimal Curing Environment
Creating an ideal curing environment is essential to achieving a flawless finish for your resin tree trunk art. One of the most important curing techniques is ensuring your workspace is dust-free. Cover your artwork to protect it from particles that could mar the finish. Good ventilation is a must, but try to keep air circulation to a minimum, so dust doesn’t settle on the resin before it fully cures. It’s a balancing act, like walking a tightrope without a net!
Temperature is another key environmental factor. Aim for a cozy range between 70°F to 80°F (21°C to 27°C). Too hot or too cold, and you risk ruining your masterpiece. Let the resin cure undisturbed for at least 24 hours. Full hardness usually takes between 72 hours to a week, depending on the resin you used. It’s like waiting for cookies in the oven, but with a much longer timer.
A neat trick? Mist the air with water during the curing phase. This helps settle any rogue dust particles, giving your artwork a clean, pristine surface. Follow these tips, and your resin tree trunk art will be the envy of all who see it!
UV Light Precautions
Protecting resin tree trunk art from UV light exposure is crucial in preventing yellowing and degradation of the epoxy resin. When resin art is exposed to UV light, it can cause the beautiful, clear finish to turn yellow and become brittle over time. This can ruin the vibrant colors and intricate details you worked so hard to create. So, how do you keep your masterpiece safe?
- Use Protective Coatings: Apply UV-resistant coatings or finishes to your resin art. These act like sunscreen, shielding your piece from harmful rays and keeping it looking fresh and new.
- Control Lighting: Display your resin tree trunk art in rooms away from direct sunlight. Think about placing it in areas with controlled lighting, which greatly reduces UV exposure effects.
- Consider UV-Blocking Frames: For outdoor displays, using glass or acrylic frames that block UV rays can provide an extra layer of protection. This way, your artwork can shine in the sun without getting damaged.
Remember to regularly check and maintain any protective coatings or coverings. Over time, they can wear out, which can leave your artwork vulnerable to UV damage.
Framing the Piece
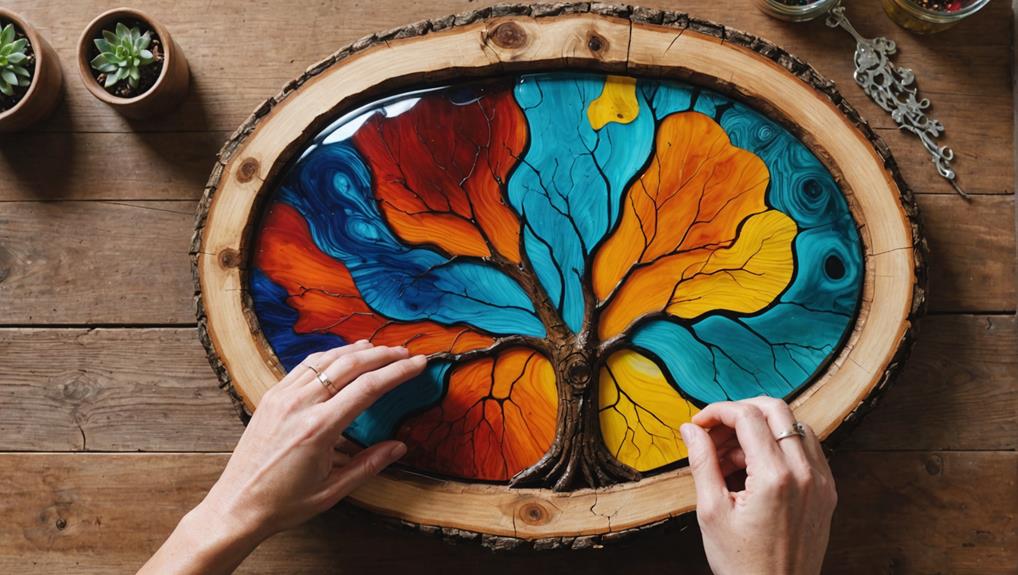
Selecting an appropriate frame for your resin tree trunk art is essential to enhancing its visual appeal and guaranteeing long-term preservation. The right frame can make your artwork pop and protect it from damage! Start by considering various frame styles that match the colors and textures in your piece. A shadow box frame is a fantastic option that offers a three-dimensional effect, making the sculptural elements stand out.
Next, think about the mounting techniques. You need something sturdy because fully cured epoxy can be quite heavy. Always use acid-free materials when framing to prevent yellowing or damage over time. Plus, make sure your resin piece has cured completely for at least 24 hours before framing to guarantee stability.
Here’s a quick look at some framing options:
| Frame Style | Key Features |
|---|---|
| Shadow Box | 3D effect, depth, visibility |
| Floating Frame | Modern look, space between art & frame |
| Traditional | Classic, complements various decors |
| Rustic Wood | Natural look, enhances wood textures |
| Metal Frame | Sleek, durable, contemporary |
Each style can bring something unique to your art, so choose wisely! Remember, the frame is not just a boundary; it’s an extension of your creativity. Happy framing!
Display Considerations
After framing your resin tree trunk art, thoughtful display considerations will guarantee your masterpiece is both protected and showcased to its fullest potential.
Choosing the right display techniques is essential for art presentation. First, think about where you’ll place your art. Keep it away from direct sunlight to prevent the resin from discoloring or getting damaged over time. No one wants their beautiful artwork to turn into a sun-bleached mess!
Next, make sure the surface where you display your piece is level and sturdy. Resin tree trunk art can be heavy, so you need a strong base to support it. Imagine your masterpiece toppling over—what a disaster!
Consider these three tips for displaying your art:
- Protective Coating or Frame: This will keep dust and potential damage at bay while enhancing the visual appeal.
- Ambient Lighting: Use soft, indirect lighting to highlight the natural beauty and intricate details.
- Eye-Level Positioning: Place your artwork where people can see it easily, allowing them to fully appreciate your craftsmanship.
Project Reflections
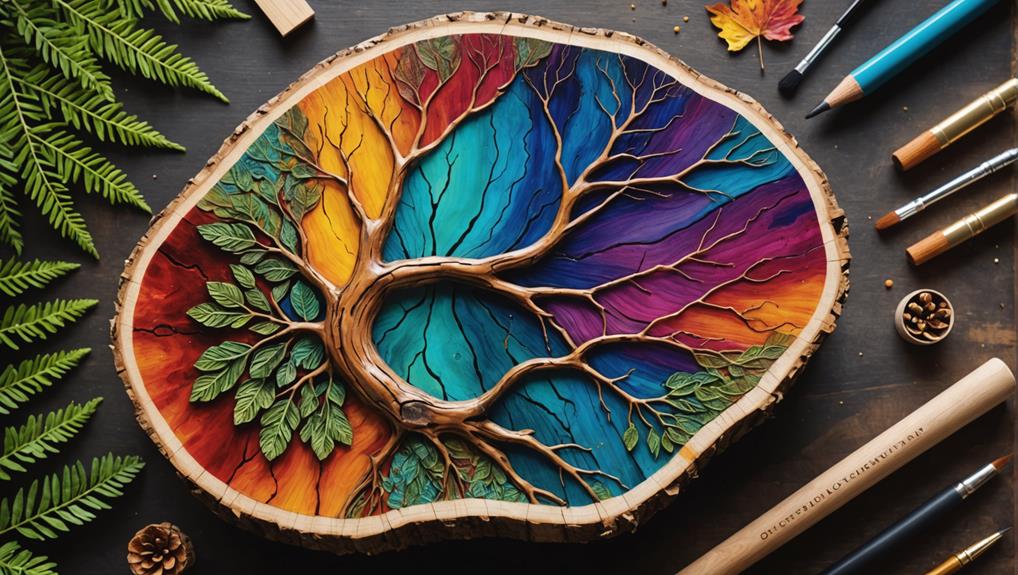
Reflecting on the resin tree trunk art project, it becomes evident that the meticulous preparation phase was vital to its success. This phase, though time-consuming, laid the foundation for the entire creation.
Extensive sanding and artistic adjustments were significant, not just for a smooth resin application, but to enhance the tree’s natural beauty. This groundwork allowed for the incorporation of colored and gold-painted rocks, simulating an underwater effect that brought the design to life.
Creative collaboration played a significant role in this project. Working together allowed for the exchange of ideas and techniques, enriching the learning experience. Each team member contributed unique perspectives, which resulted in a more dynamic and innovative final piece.
The shared effort also made the project more enjoyable and fulfilling.
Audience engagement was another highlight. Encouraging feedback from viewers not only validated the hard work but also fostered a sense of community around the artwork.
The positive responses and constructive criticism received provided valuable insights for future projects.
Frequently Asked Questions
How to Use Resin in Art Step by Step?
To use resin in art step by step, prepare your workspace, accurately mix resin and hardener, and select a suitable surface. Employ resin techniques like dirty pour or puddle pour, and incorporate color mixing. Allow curing undisturbed.
How Do You Layer Art Resin?
To achieve ideal results with resin layering techniques, pour thin layers and allow partial curing. Guarantee proper thickness, typically 1/8 to 1/4 inch, and use a heat gun to remove bubbles. For even color distribution, follow precise color mixing tips.
How Do You Put Pictures in Resin Crafts?
To achieve photo embedding in resin crafts, use laser prints, apply a thin layer of resin for sealing, place the image face-up, and pour additional resin over it. This guarantees proper resin preservation and a glossy, bubble-free finish.
How Do You Use Art Resin on Wood?
To use art resin on wood, guarantee proper wood preparation by cleaning and sanding the surface. Select appropriate resin types, mix resin and hardener precisely, apply to wood, and allow to cure undisturbed in a clean environment.
Conclusion
Creating stunning resin tree trunk art involves a detailed process that begins with selecting and preparing the right materials and ends with a well-protected and beautifully displayed piece.
Each step, from cleaning and trimming to sanding and framing, requires precision and care.
By following the outlined steps meticulously, the resulting artwork will not only be visually enchanting but also preserved for long-term admiration.
This guide guarantees that the artistic endeavor is both enjoyable and rewarding.

Leave a Reply