Beginners can easily start watercolor painting with just a few supplies: quality paper, basic colors, and good brushes. Simple fruits, vegetables, and flowers make perfect first subjects because slight imperfections add charm! Try painting cherries, simple daisies, or a decorated pot with a plant. Practice wet blending techniques and embrace mistakes—they’re part of the creative journey. Exploring texture through projects like pebbles helps develop essential skills while keeping the process fun and rewarding.
Key Takeaways
- Begin with simple fruit shapes, using cherries or oranges to practice color mixing and basic watercolor techniques.
- Try painting loose florals like daisies or hydrangeas, embracing imperfections while developing wet-on-wet skills.
- Create a potted plant design to master symmetrical shapes and experiment with textures through pot decorations.
- Paint simple bird forms, like a jolly rooster, to learn fundamental brush control and shape construction.
- Practice wet blending with overlapping colorful circles to improve brush handling and color mixing techniques.
Essential Watercolor Supplies for Beginning Painters
The journey into watercolor painting begins with the right tools! Quality watercolor paper is absolutely essential—look for weights between 200gsm and 800gsm that won’t buckle when wet.
Quality watercolor paper isn’t optional—it’s the foundation upon which your artistic vision comes to life!
Without proper paper, even the best painting skills can’t shine!
A basic set of watercolor paints doesn’t need to break the bank. Start with primary colors in either tubes or pans to master color mixing before expanding your collection.
Pair these with a few good brushes (round and flat shapes work wonders) rather than dozens of cheap ones.
Don’t forget a mixing palette, clean water container, and paper towels for blotting.
Fun Fruit and Vegetable Projects to Try First
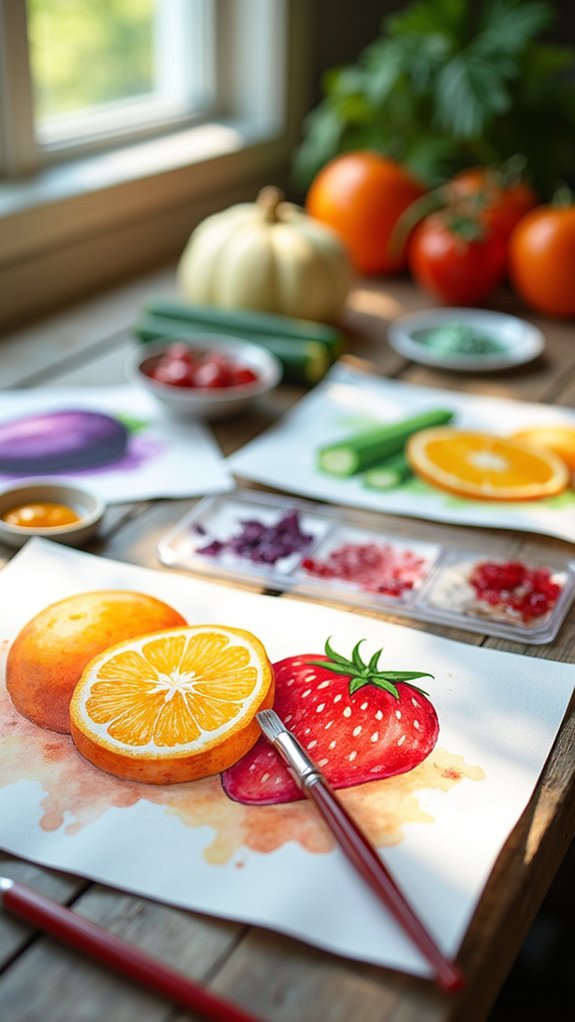
After gathering your supplies, beginning watercolorists should dive right into painting fruits and vegetables! These fun projects offer simple shapes, bright colors, and glossy textures that make learning watercolor techniques much easier.
Beginners love that slightly lopsided apples or imperfect strawberries can actually add charm to their artwork.
- Try the Cherries Tutorial from the Watercolour Tutorial Starter Bundle
- Combine pencil drawing with waterproof pen for an ink and wash effect
- Experiment with color mixing by blending reds, yellows, and oranges
- Paint a bowl of mixed fruit for a colorful still-life composition
- Create a kitchen-themed series with vegetables in different lighting
Ideas for Beginners include starting with single fruits before attempting more complex arrangements.
These projects build confidence while teaching essential skills like layering and wash techniques!
Creating Beautiful Floral Arrangements With Basic Techniques
Flowers bring an entirely new dimension to watercolor painting once you’ve mastered those cheerful fruits and vegetables! Beginning artists can immerse themselves in floral arrangements with a loose painting style that embraces natural imperfections. Simple blooms like daisies or hydrangeas make perfect starter watercolor projects for developing beginner skills in color mixing and brush control.
The “Hydrangeas Tutorial” bundle offers step-by-step guidance that transforms even novice attempts into gorgeous creations. Experimenting with vibrant colors brings these botanical beauties to life—try mixing bright hues for eye-popping petals!
Different techniques create varied effects: wet-on-wet painting produces dreamy, soft edges, while layering builds impressive depth. The beauty of floral arrangements in watercolor is that each imperfection adds character, making every painting uniquely yours.
Grab your brushes and let those flowers bloom across your paper!
Potted Plants: Symmetrical Subjects Perfect for New Artists
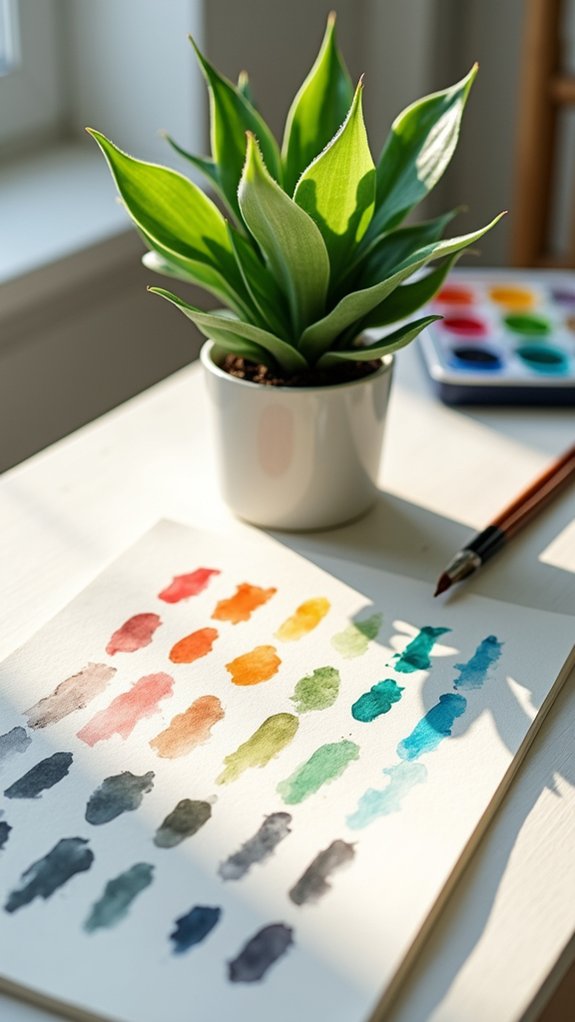
Potted plants provide beginning watercolorists with perfect practice subjects thanks to their friendly, symmetrical shapes and defined lines.
These structured subjects help new artists gain confidence while mastering basic watercolor painting techniques. The ‘Plants in Pots’ series showcases how beginners can explore creativity through these approachable subjects, making the learning process fun and less intimidating.
- Start with simple pot shapes before adding plant details
- Experiment with textures by adding unique decorations to the pots
- Minor mistakes actually add character to your potted plant paintings
- Practice color mixing with different leaf and flower varieties
- Use potted plants to improve brush control through defined edges
The best part about painting potted plants? Their forgiving nature means mistakes won’t ruin your artwork—they’ll just make it more interesting and personal!
Simple Bird Paintings Using Basic Shapes
Birds offer watercolor beginners a delightful entry point into the world of animal painting, thanks to their simple shapes that anyone can master. By starting with basic oval forms, complete beginners can quickly understand proportion and structure while creating adorable feathered friends!
A jolly rooster watercolor painting project is perfect for newcomers—it’s fun, colorful, and teaches fundamental techniques without overwhelming complexity. Kids and adults alike can experiment with bright colors and simple outlines, embracing imperfections as part of their unique style.
The best part? These simple painting projects encourage artistic exploration of different wing and feather shapes. As beginners practice, they’ll build confidence in their watercolor skills and develop their own creative flair. Who knew that painting something so simple could teach so much about watercolor techniques?
Landscape Fundamentals for Watercolor Beginners
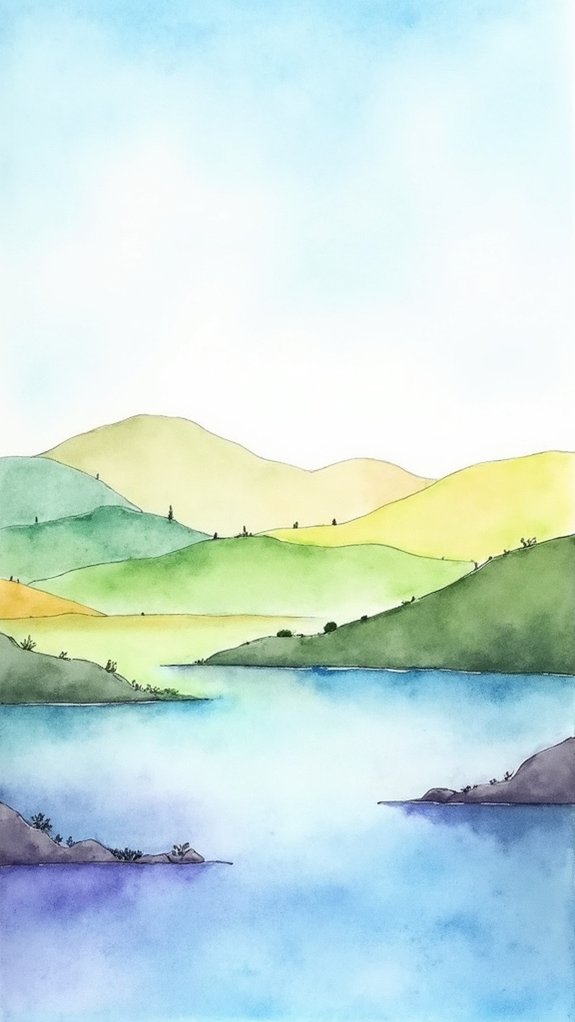
While birds make excellent subjects for beginners, painting scenery offers a whole new world of watercolor possibilities that anyone can master. Scenery painting doesn’t have to be intimidating!
With simple wavy lines and organic shapes, even first-timers can create beautiful hills, trees, and skies. The step by step video tutorial makes learning super easy, showing exactly how to build your scene from scratch.
- Use the wet-on-wet technique for dreamy, blended skies
- Try wet-on-dry for crisp tree outlines and defined hills
- Add a colorful hot air balloon for a pop of excitement
- Practice simple wavy lines to create rolling scenery
- Use observation skills to capture nature’s beauty in your own style
Learning these fundamentals helps beginners develop both painting skills and a deeper connection with nature!
Hot Air Balloons: Colorful and Easy Compositions
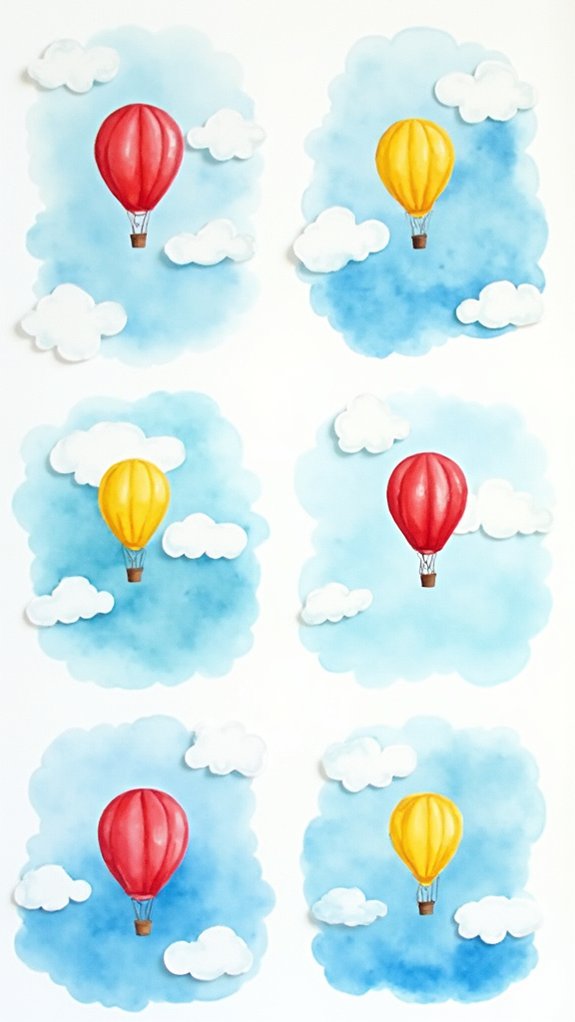
Many watercolor beginners discover that hot air balloons are perfect painting subjects because of their simple shapes and eye-catching colors. These floating wonders allow artists to practice essential techniques while creating something beautiful right away!
When painting hot air balloons, artists can blend colours using the wet-on-wet method, creating magical color shifts that mimic sunrise or sunset skies.
What makes this easy watercolor painting subject so exciting is the freedom to experiment with patterns and color combinations. Artists can paint realistic balloons or create whimsical designs that spark joy.
Adding a simple scenery beneath the balloons—perhaps rolling hills or a distant cityscape—creates depth and tells a story. The Watercolour Tutorial Starter Bundle includes specific guidance on this delightful subject, helping beginners float confidently into their artistic journey.
Geometric Patterns for Practicing Color Mixing
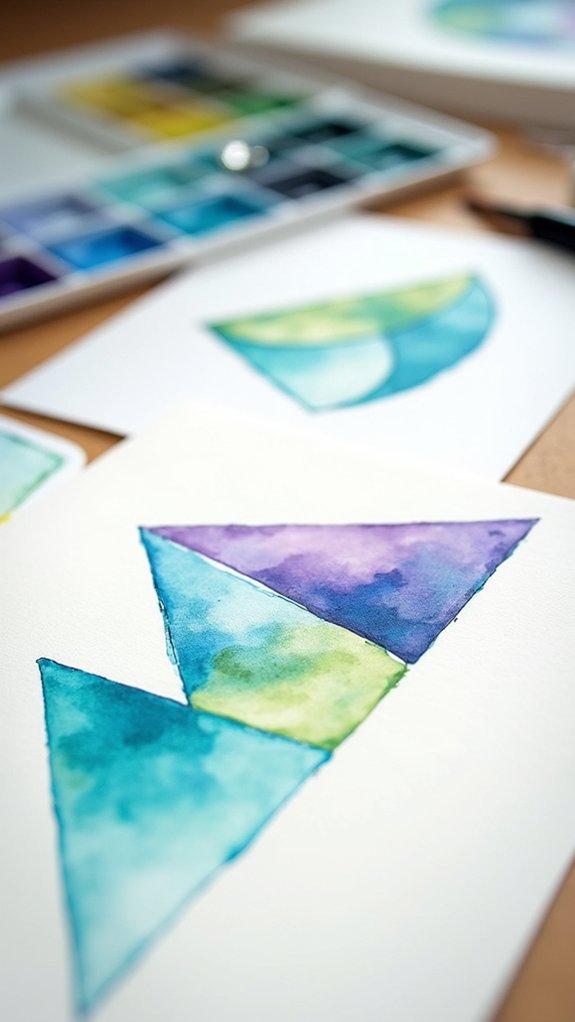
Geometric patterns offer a perfect stepping stone in a watercolor beginner’s journey after exploring the whimsical world of hot air balloons.
These structured designs create an ideal playground for experimenting with color mixing while building essential brush control skills. Painting squares, triangles, and circles might sound boring, but it’s actually super fun when vibrant colors start dancing together on paper!
Geometric magic happens when simple shapes become canvases for watercolor exploration and skill-building.
- Create amazing gradients by placing analogous colors side by side in your geometric design
- Practice wet-on-wet technique by letting colors bleed together in triangles and hexagons
- Mix different green combinations to discover which blues and yellows work best together
- Build dexterity by painting clean, straight lines and perfect circles
- Layer transparent glazes over dried shapes to add depth and dimension to simple patterns
Circular Forms: Mastering Brush Control Through Simple Shapes
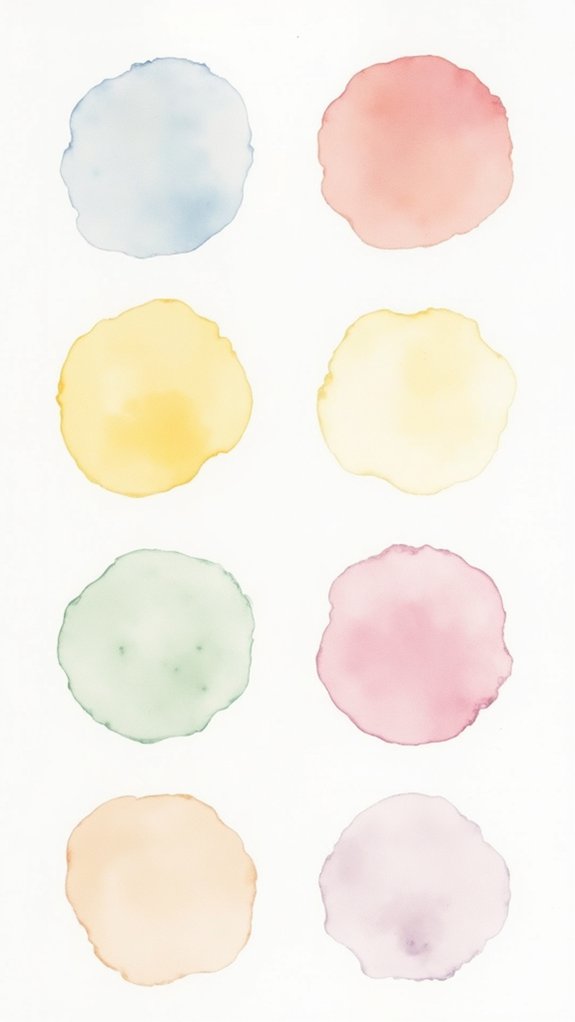
Wet blending techniques come alive when painting circles, as the rounded edges create perfect opportunities for colors to mingle and dance together on the paper.
Try overlapping several circles with complementary blue and red-orange hues to instantly see how each new layer adds surprising depth and richness to your painting.
These simple circular exercises might seem basic at first glance, but they’re actually building your muscle memory and teaching you the essential brush control that more complex watercolor paintings will demand later on!
Mastering Wet Blending Techniques
Circular forms truly reveal the magic of watercolor when artists learn to blend colors seamlessly across their curved surfaces.
Wet blending transforms simple shapes into vibrant orbs of color that seem to glow on the page! Beginners can practice this technique by controlling water amounts and experimenting with complementary colors like blue and fiery red-orange.
The wet-on-wet technique works beautifully for circular forms, where colors kiss at the edges and create gorgeous changes.
- Draw circles on paper first as guides for your brush movements
- Control water amounts – too much creates puddles, too little prevents blending
- Overlap circles to practice glazing techniques where colors interact
- Build up multiple layers for incredible depth and richness
- Use complementary colors (like blue and red-orange) for eye-catching contrast
Overlapping for Color Depth
Delving into the art of overlapping transforms simple circle shapes into a playground of enchanting depth and dimension! When circular forms merge together, watercolors reveal their magical transparency, creating new colors where they meet. This glazing technique is like revealing a secret treasure map!
Before diving in, sketch a few circles lightly on your paper—they’ll be your painterly roadmap. Then, grab your brush and mix complementary colors (blue with red-orange is a mind-blowing combo!).
As you layer one wet circle over another, watch how they blend and make entirely new shades! Each additional layer increases the intensity, making your painting pop with personality. The best part? These overlapping circular forms secretly improve your brush control while you’re having fun with color mixing!
Line and Wash Technique for Botanical Subjects
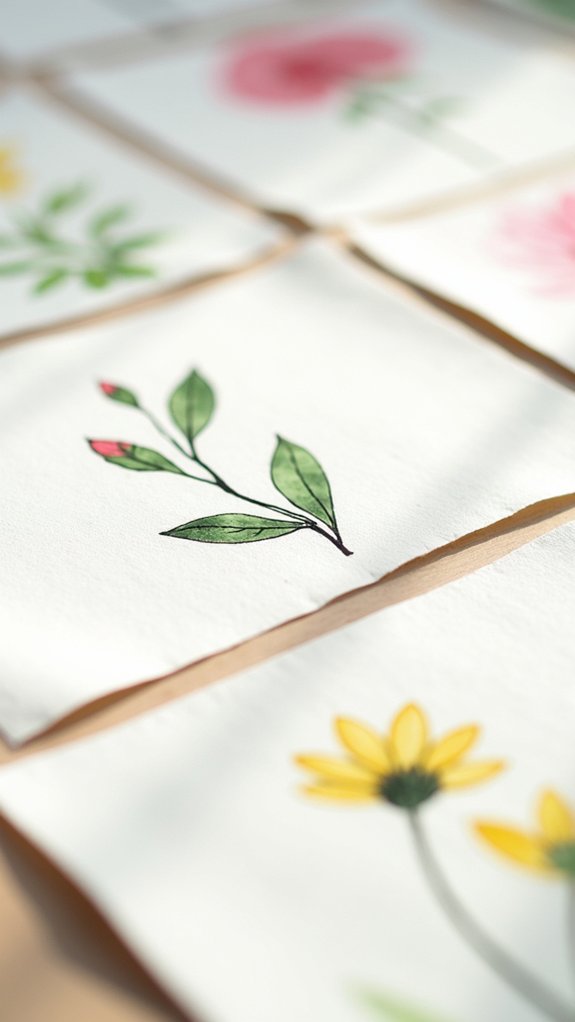
Combining the precision of ink with the fluid beauty of watercolor, the line and wash technique creates botanical art that’s both structured and lively.
Artists can capture the delicate details of flowers, leaves, and stems while allowing watercolor to bring them to vibrant life. This approach is perfect for beginners who want their botanical art to look impressive without requiring advanced skills.
The magic of line and wash lies in its forgiving simplicity—defining structure while watercolor does the expressive work.
- Start with a simple pencil sketch of your favorite plant or flower
- Outline the sketch using waterproof ink pens (so they won’t smudge!)
- Choose 3-5 watercolor shades that match your plant’s natural colors
- Apply watercolor within the inked lines, letting colors blend naturally
- Add layers of color to create shadows and highlights for a 3D effect
Painting Textured Objects: The Pebble Project
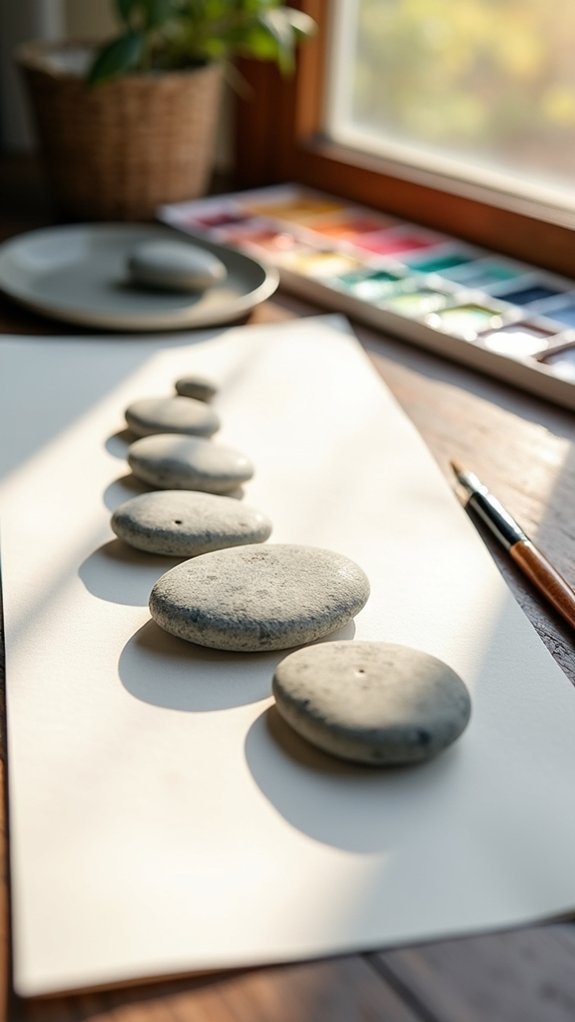
Pebbles, with their diverse shapes and subtle color variations, offer the perfect canvas for beginners to practice watercolor texture techniques. The Pebble Project helps artists capture the three-dimensional quality of stones through layering and shading.
Students learn to observe closely, noticing how light creates highlights and shadows across each unique surface. Using both wet on wet and wet-on-dry approaches creates beautiful effects that mirror the smooth or rough textures found in nature.
Artists can experiment with multiple colors, building depth by adding darker hues where shadows fall. The real magic happens when watercolor pebbles begin to pop off the page! This simple exercise teaches valuable skills in creating realistic forms while allowing beginners to play with colors and techniques without getting overwhelmed by complex subject matter.
Understanding Values and Shading in Watercolor
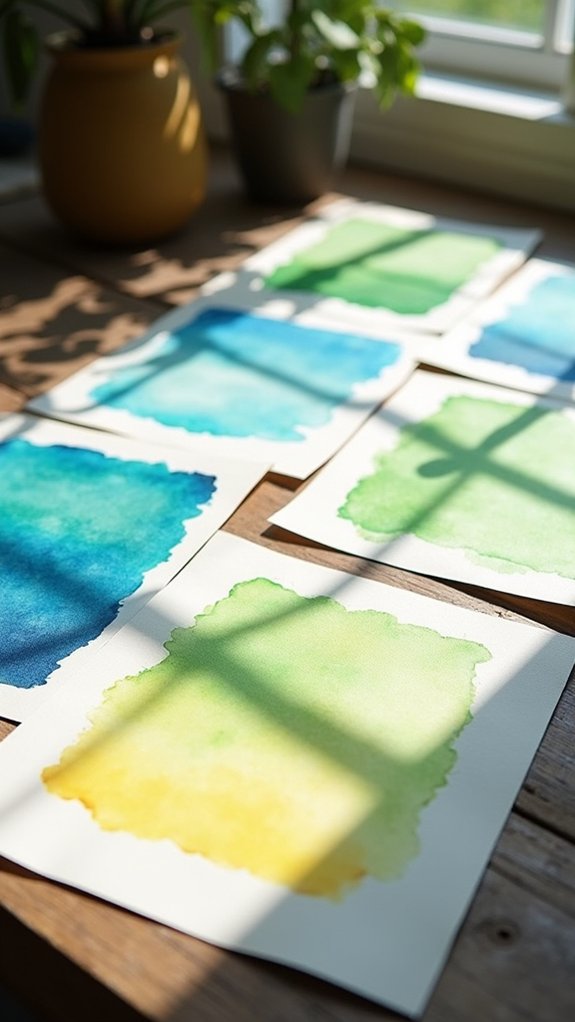
Understanding the light-to-dark spectrum in watercolor transforms flat paintings into ones with striking depth and dimension.
Beginning artists can practice creating spherical objects like apples or marbles, where light hits one side and gradually shifts to shadow on the opposite side.
Once mastered, these shading techniques enable painters to accurately depict cast shadows—those dark areas created when an object blocks light—giving artwork that “wow factor” that makes paintings look impressively real.
Creating Light to Dark
When light hits an object, it creates a magical dance of highlights and shadows that gives the world dimension. In watercolor painting, capturing these values is like telling a story with light and shadow.
Beginners often struggle with this technique, but with practice, it becomes second nature to create depth that makes paintings pop off the page!
- Start with the lightest areas first, preserving the white of your paper for brightest highlights
- Layer washes gradually, allowing each to dry completely before adding the next
- Use a value scale (a strip showing light to dark) as a reference while painting
- Test your colors on scrap paper to verify they’ll create the right shade
- Remember that water is your friend—more water equals lighter values!
Understanding Cast Shadows
The magic of a well-executed watercolor painting lies in its cast shadows, those darker areas that breathe life into your artwork. Without them, paintings look flat and boring—like stickers floating on the page!
Cast shadows anchor objects to surfaces, creating that wow-factor dimension beginners often miss.
To nail these shadows, you’ll need to understand values—the range from super light to deep dark. Think of values as a staircase, with each step getting a little darker.
Shading techniques, like layering thin washes of color, help build these shadows gradually. Start light (you can always go darker!), and leave those highlight areas white or barely tinted.
Try this fun exercise: place an apple on a table near a window and watch how shadows fall. Cool, right?
Spherical Form Techniques
Now that you’ve grasped cast shadows, let’s practice bringing spheres to life—the perfect shape for mastering watercolor values!
Spherical forms are awesome to paint because they show off your blending techniques in a super satisfying way. Start with a light base wash, then build up darker shades to create that three-dimensional effect that makes your sphere pop off the page!
- Begin with a pale wash across your entire sphere
- Add gradually darker washes to the edges, leaving the lightest area where light hits
- Use wet-on-wet blending for smooth shifts between values
- Keep white paper for bright highlights—don’t paint over them!
- Paint a defined shadow beneath your sphere to ground it
Watercolor Terminology Every Beginner Should Know
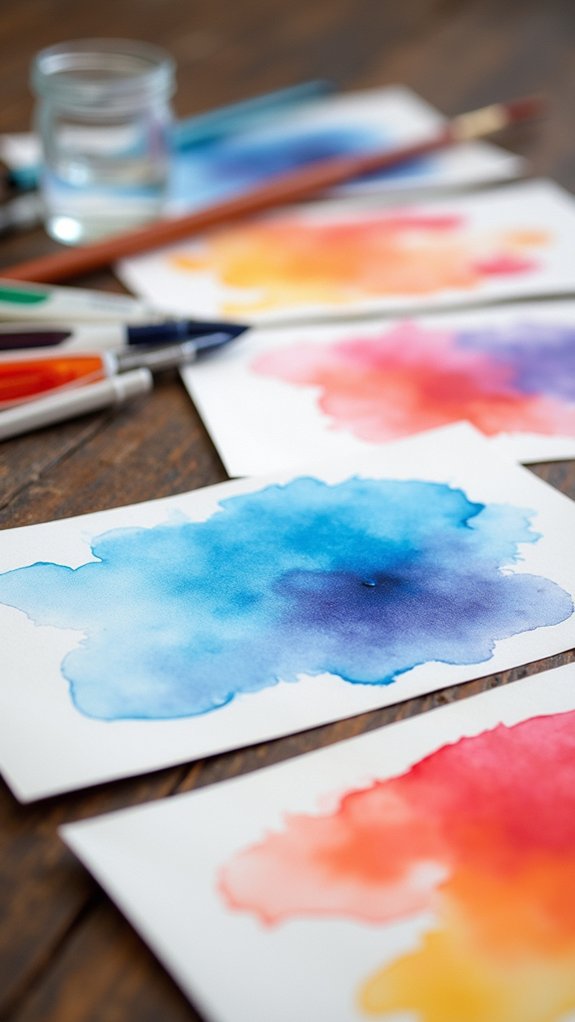
Diving into watercolor terminology feels like exploring a new language, but don’t worry—you’ll be fluent before you know it!
Understanding watercolor terminology starts with basic techniques like wet-on-wet, where you apply wet paint to already wet paper, creating soft, flowing effects that blend beautifully.
Wet-on-wet creates magic on paper—paint flows and mingles freely, resulting in ethereal blends impossible with any other technique.
When artists talk about “glazing,” they’re referring to layering transparent paint over dry layers, which creates rich depth and luminous colors that seem to glow.
Value—the lightness or darkness of colors—helps create dimension in your paintings.
Ever noticed how paint sometimes creates unexpected flowery patterns? That’s called a “back-run,” and many artists actually use this happy accident intentionally!
For paintings that last generations, archival paper is your best friend—it resists yellowing and deterioration over time.
Building Confidence Through Playful Experimentation
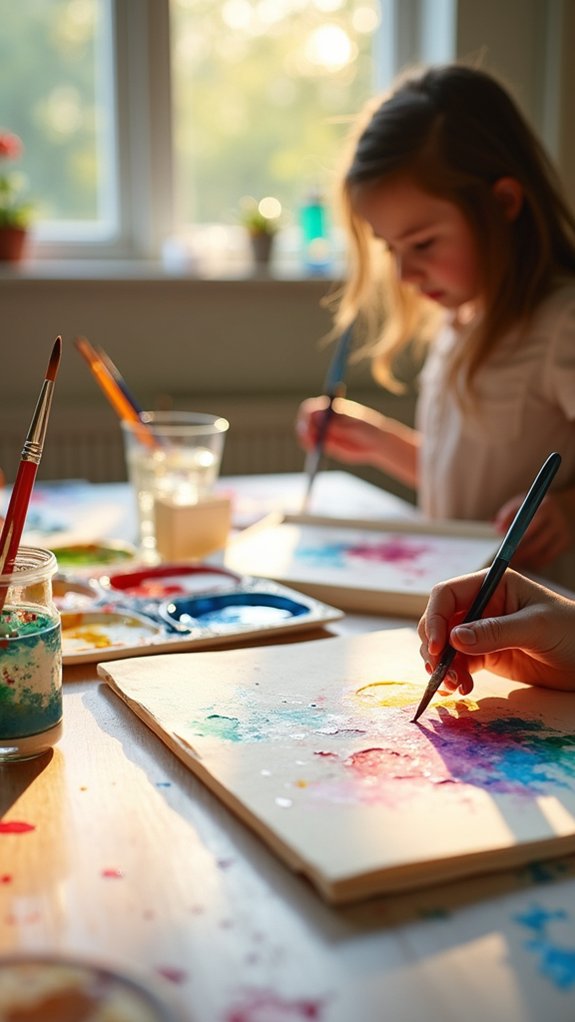
Many new watercolorists get stuck trying to create “perfect” paintings, but embracing mistakes is actually the secret to growing as an artist.
Playful color mixing—swirling blues into yellows to discover surprising greens, or letting reds bleed into purples—teaches more about paint behavior than any textbook ever could.
When artists stop worrying about messing up and start having fun with their paints, that’s when the real magic happens on paper!
Embracing Imperfection
Perfection can be the worst enemy of a beginning watercolor artist. The beautiful watercolor journey truly begins when new painters allow themselves to celebrate the unexpected drips, uneven lines, and happy accidents that emerge.
Embracing imperfection in the creative process opens doors to unique artistic expressions that perfect technique could never discover.
- Lopsided shapes add personality and whimsy to your artwork
- Bleeding colors create magical blends impossible to plan
- Wonky lines tell stories that perfect straight edges never could
- Water blooms (those cloudy splotches) become interesting focal points
- Uneven washes create natural texture that looks intentional
When artists stop fighting against watercolor’s natural tendencies and instead welcome these charming quirks, they discover the medium’s true magic—and their own artistic voice.
Playful Color Mixing
This embrace of imperfection naturally leads to the joy of playful color mixing. Beginners can build confidence by experimenting with different water-to-paint ratios, creating unique and unexpected results that transform an easy project into something magical!
Watching colors blend and dance together on paper is like witnessing a tiny celebration.
Using a limited palette simplifies the process while teaching important color theory basics. When red meets yellow or blue kisses green, happy accidents become intentional techniques!
Wet-on-wet applications and glazing create fascinating textures that even novice painters can achieve.
Regular practice with playful color mixing helps beginners understand which combinations work best, building their artistic vocabulary without pressure.
The beauty lies in the experiment itself—each unpredictable blend becoming a stepping stone to greater artistic freedom.
Frequently Asked Questions
What Is the Easiest Thing to Paint in Watercolor?
Simple shapes like circles and ovals are generally considered easiest in watercolor. Nature scenes with basic elements and abstract patterns also offer accessible starting points for developing technique.
What Are Three Common Mistakes That People Make When Using Watercolor?
Common watercolor mistakes include improper paper selection causing warping, poor color mixing resulting in muddy tones, and incorrect brush techniques that fail to utilize the medium’s unique properties.
What Is the Golden Rule of Watercolor?
The golden rule of watercolor involves working from light to dark. This fundamental watercolor technique allows artists to build transparent layers, create depth, and maintain luminosity when color mixing with various brush types.
What Should Beginners Do Watercolor?
Beginners should practice basic watercolor techniques like wet-on-wet and wet-on-dry, experiment with color mixing using limited palettes, and learn different brush types for various effects and applications.
Conclusion
Watercolor painting doesn’t have to be intimidating! With basic supplies and simple projects, beginners can create beautiful artwork while building essential skills. Starting with fruits, flowers, and basic objects helps new artists understand technique without frustration. Remember, every watercolor master started somewhere, and mistakes are actually part of the learning process. So grab your brushes, splash some color, and enjoy the creative journey—your artistic adventure is just beginning!

Leave a Reply