Creating amazing resin art requires some key tools. Start with a good epoxy resin kit, which includes both resin and hardener for that perfect, glassy finish. Silicone molds shape your creations, while mixing cups and stir sticks guarantee you blend thoroughly. Adding color? Use resin pigments or glitter to make your art pop! Safety gear like nitrile gloves and respirators keeps you protected from the sticky stuff and fumes. A heat gun or torch is essential to zap those pesky air bubbles. Curious how these all come together to create stunning pieces? Stick around and discover the magic behind resin art!
Key Takeaways
- High-quality epoxy resin kits ensure proper mixing and durability.
- Reliable mixing tools, such as disposable cups and stir sticks, guarantee accurate measurements.
- Safety gear, including nitrile gloves and respirator masks, is essential for protection against toxic fumes.
- Heat guns or torches effectively remove air bubbles for a flawless resin finish.
Overview of Resin Art
Resin art is a versatile and enchanting medium that involves blending epoxy resin with a hardener to create durable and glossy decorative items. This art form has roots in ancient history, with natural resins like amber being used for jewelry and other decorations. Today, modern resin techniques have evolved, allowing artists to craft a myriad of items like coasters, jewelry, and even tabletops.
Creating resin art requires a good understanding of the materials involved. You need to mix epoxy resin and hardener in precise measurements, often in a 1:1 ratio, to guarantee the mixture cures properly. If you get the ratio wrong, the final product may not harden correctly, leading to disappointing results.
Artists can get really creative with resin. They often embed dried flowers, glitter, or pigments into their pieces to make them unique and eye-catching. Imagine a coaster with shimmering gold flakes or a necklace with a tiny, preserved flower inside—how cool is that?
The curing time is another important aspect of resin art. Depending on the resin type and size of the project, it can take anywhere from 10 to 24 hours for the resin to fully set. So, patience is key!
Importance of Safety Gear
When working with resin art, the use of appropriate safety gear is essential to protect against potential health hazards. Resin might look harmless, but it can be a bit sneaky. Safety precautions are a must to keep you safe and healthy while you create your masterpieces.
First off, let’s talk hands. Wearing nitrile gloves is non-negotiable. Resin can cause nasty skin irritation and allergic reactions. No one wants itchy hands, right?
Next up, your eyes. Safety goggles or glasses are your best friends. Resin splashes can irritate your eyes, and nobody wants to turn their art session into an eye-watering event.
Now, let’s not forget about breathing. A respirator mask with organic vapor cartridges is vital, especially if your workspace isn’t well-ventilated. Those fumes aren’t just stinky; they can be harmful to your lungs. So, mask up!
And what about your clothes? Disposable clothing or aprons can save your favorite outfit from stubborn resin stains. Trust me, resin doesn’t come out easily!
Lastly, always work in a well-ventilated area. Good airflow helps disperse those pesky fumes, keeping your lungs happy and healthy. Safety precautions and the right protective equipment make all the difference!
Essential Resin Art Supplies
When starting your resin art journey, having the right supplies is key to creating amazing pieces.
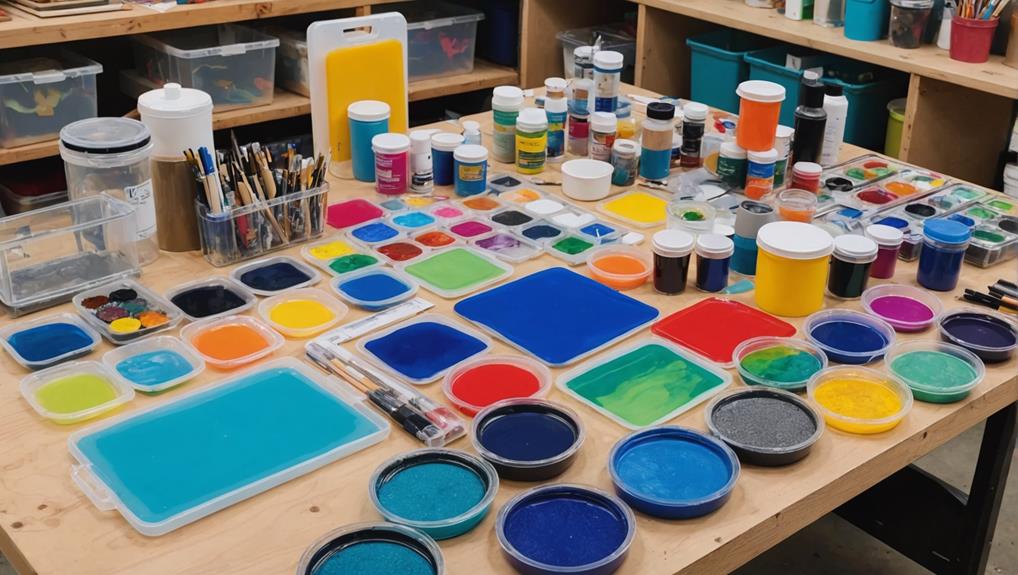
You’ll need a two-part epoxy resin kit, silicone molds, and mixing tools like plastic cups and stirring sticks.
Don’t forget safety gear to protect yourself, and add some fun elements like pigments and glitter to make your art pop!
Must-Have Resin Tools
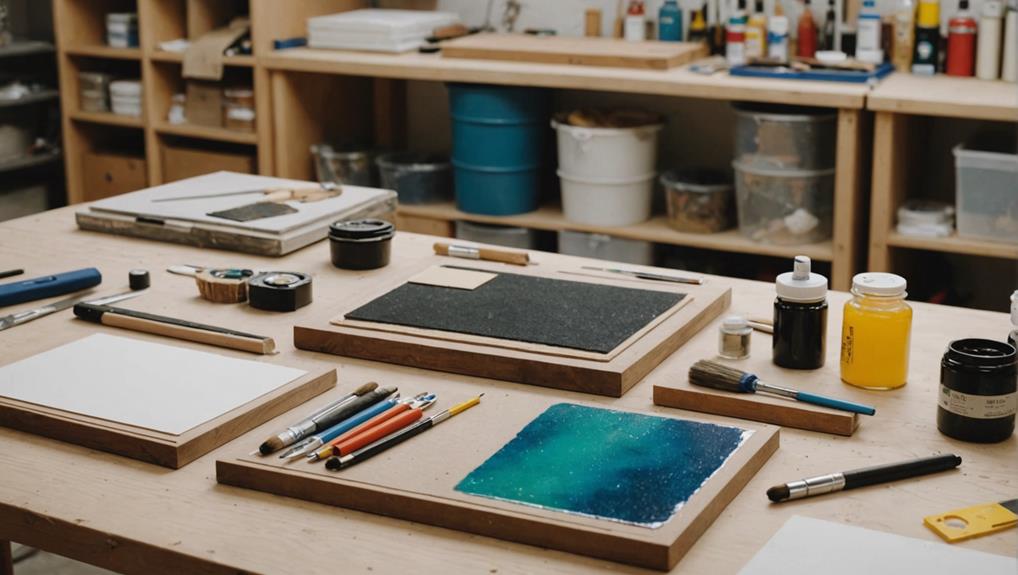
To create stunning and long-lasting resin art, several vital tools are indispensable for both safety and precision.
First on the list is a high-quality epoxy resin kit. These kits come with both resin and hardener, mixed in a precise 1:1 ratio. This is fundamental for creating durable, crystal-clear projects. If you’re new to resin art, having these kits can help avoid common pitfalls, making your resin troubleshooting tips a lot simpler.
Next, you’ll need reliable mixing tools. Disposable plastic mixing cups with graduated markings and stirring sticks are a must. They guarantee you get the measurements right and mix thoroughly, which is crucial for any creative resin applications.
Silicone molds are another must-have. They’re flexible and great at capturing details, making them perfect for a variety of shapes and designs. Whether you’re making coasters or jewelry, silicone molds can handle it all.
A heat gun or torch is vital for removing pesky air bubbles from your poured resin. These tools help achieve that smooth, flawless finish you’re aiming for. Remember, a few bubbles can make a big difference in your final piece, so don’t skip this step!
Recommended Safety Gear
In addition to the must-have resin tools, prioritizing your safety with appropriate gear is fundamental for a secure and enjoyable resin art experience. It’s not just about making pretty things; it’s about staying safe while you’re at it. There are a few essential safety items to take into account.
First, let’s talk glove types. Nitrile gloves are a must. They protect your skin from irritation and allergic reactions while handling resin. Latex gloves just don’t cut it here.
Next, eye protection is vital. Safety glasses or goggles shield your eyes from potential splashes and harmful fumes during the mixing process. You don’t want resin in your eyes—trust me, it’s not fun.
Then comes respirator selection. A good respirator mask is recommended, especially if you’re working in a poorly ventilated area or handling large amounts of resin. This helps you avoid inhaling toxic vapors, which can be super harmful.
Additionally, think about these items:
- Disposable clothing or an apron to protect your regular clothes from resin spills.
- A first aid kit for emergencies. Better safe than sorry.
Safety doesn’t have to be boring, but it definitely has to be a priority!
Best Epoxy Resin Brands
When it comes to choosing the best epoxy resin brands for your art projects, quality and affordability are key considerations.
Some excellent options include ArtResin for its safety features, ProMarine Supplies for its clarity and UV resistance, and TotalBoat for its deep casting capabilities.
Finding the right resin can make a huge difference in the outcome of your work, so let’s explore these top brands a bit more.
Top Quality Epoxy Resins
Selecting the right epoxy resin is essential for achieving professional-grade results in resin art projects. The variety of resin types and curing processes can impact the final outcome, so choosing a high-quality epoxy resin is vital.
Here are some top brands that stand out for their performance and reliability:
- ArtResin: This epoxy resin is highly regarded for its non-toxic formula and crystal-clear finish. It’s perfect for art projects, curing in 24 hours with a straightforward 1:1 mixing ratio.
- Epoxy Resin for Crafts: Known for its UV-resistant properties, this resin prevents yellowing over time, making it suitable for both indoor and outdoor projects. Its durability makes it a favorite among crafters.
Each of these brands offers unique advantages tailored to different project needs.
Whether you’re creating intricate jewelry, large-scale art pieces, or durable surfaces, selecting the right epoxy resin can make all the difference in the quality and longevity of your work.
Affordable Resin Options
While top-quality epoxy resins offer unparalleled performance, affordable resin options can also deliver impressive results without breaking the bank. For beginners, diving into resin art can be intimidating, but choosing budget friendly options can make the process smoother and more enjoyable. Here are some top picks:
| Brand | Key Feature | Ideal For |
|---|---|---|
| ArtResin | Crystal-clear finish | Small to medium projects |
| ProMarine Supplies | Durable, waterproof | Larger projects, river tables |
| TotalBoat | Versatility | Jewelry, coasters |
| Epoxies R Us | Budget-friendly | Beginners, small projects |
| SuperClear | High-gloss finish | Art and home decor |
ArtResin is a favorite among artists for its low odor and crystal-clear finish. It’s user-friendly with a 1:1 mixing ratio, curing in 24 hours for smaller projects. ProMarine Supplies is perfect for bigger pieces like river tables because it’s durable and UV-resistant, preventing yellowing.
TotalBoat is versatile, offering options suitable for crafting jewelry or coasters. It’s a reliable choice for various projects. For those looking for budget friendly options, Epoxies R Us provides an affordable kit with a quick cure time, making it perfect for beginners.
Lastly, SuperClear offers a high-gloss finish, curing in 24-48 hours depending on thickness, ideal for art and home decor. So, whether you’re just starting or looking to save some bucks, these options have got you covered!
Mixing Tools and Techniques
Accurate mixing tools and techniques are vital for achieving ideal results in resin art. When working with resin, guaranteeing measurement accuracy is essential. This is where mixing techniques become important.
For instance, disposable plastic mixing cups with graduated markings assist in measuring the resin and hardener accurately. Typically, resin and hardener need a precise 1:1 ratio to cure properly.
Moreover, using angled plastic stir sticks is a smart way to mix these components thoroughly. These sticks reach the bottom corners of the mixing cup, preventing any unmixed pockets that could ruin your art.
For larger projects, a digital scale offers even greater precision. Measuring resin and hardener by weight can be more accurate, especially when dealing with different viscosities and pot life.
Here are three vital tools to aid in mixing:
- Mixing Cups: Disposable plastic cups with graduated markings guarantee precise measurements.
- Stir Sticks: Angled plastic stir sticks help in thorough mixing, reaching all corners of the cup.
Utilizing these tools and techniques, you can achieve perfect mixing and create stunning resin art pieces.
Pouring and Spreading Tools
When it comes to pouring and spreading resin, having the right tools is key to achieving a flawless finish.
From using pouring spouts for controlled pours to employing squeegees and pallet knives for even spreading, each tool plays a vital role.
Additionally, manipulating tools like brushes and toothpicks can help create intricate designs, making your resin art truly unique.
Pouring Precision Techniques
Achieving precision in resin art requires a selection of specialized tools designed to secure controlled pouring and even spreading. Mastering these pouring techniques can make a big difference in the success of your resin projects. The key to precision control is using the right tools to manage the flow and placement of the resin.
First, mixing cups are essential. Disposable plastic mixing cups with graduated markings help you measure the resin and hardener accurately, which is vital for proper curing. Without the right ratio, your resin might not set correctly, leading to a sticky mess.
Pouring spouts are another great tool for precision control. These funnel-like attachments help you pour the resin smoothly, reducing spills and making sure it goes exactly where you want it. This makes it much easier to fill molds or create intricate designs on flat surfaces.
Lastly, a heat gun or torch can be a lifesaver. By gently warming the surface of the poured resin, you can remove air bubbles that might otherwise mar your artwork. This guarantees a clear and polished final product.
- Mixing Cups: Accurate measurement secures proper curing.
- Pouring Spouts: Control flow and reduce spills.
Using these tools, you can achieve the precision needed for beautiful resin art.
Spreading Tools Overview
Precision and efficiency in resin art can be considerably enhanced with the use of proper spreading tools. Let’s explore some essential tools that can help you master spreading techniques and achieve amazing texture effects in your resin art projects.
First up, the squeegee or palette knife. These tools are perfect for spreading resin evenly across surfaces, ensuring a smooth finish that fills every corner of your mold. Think of them as your trusty sidekicks in the fight against uneven surfaces!
Next, don’t overlook the power of brushes, straws, or toothpicks. These manipulation tools are incredibly versatile. You can use them to swirl colors, create intricate patterns, or position decorative elements precisely where you want them. Imagine painting a masterpiece, but with gooey, glossy resin—how fun is that?
Finally, let’s not forget the heat gun or torch. These might sound like something from a sci-fi movie, but they’re vital for eliminating pesky air bubbles. A quick blast from these tools makes your resin crystal clear, giving your artwork that professional touch.
With these spreading tools in your arsenal, you’re well-equipped to create stunning resin art that’s both precise and full of fantastic textures.
Colorants and Pigments

Colorants and pigments play a pivotal role in resin art, offering a spectrum of creative possibilities through their diverse applications. These elements can transform a simple resin project into a dazzling masterpiece, provided they are used correctly.
Understanding pigment compatibility is essential; resin pigments are specifically designed to mix with resin without causing chemical reactions that might ruin your work. Alcohol inks, with their fast-drying properties, are perfect for creating unique marbling and swirling effects, letting artists push the boundaries of their creativity.
When it comes to color mixing, experimenting with pigment ratios is key. This process allows you to discover new hues and shades, giving your pieces a personalized touch. But be careful, as too much of one color can overpower your design, while too little might not provide enough impact.
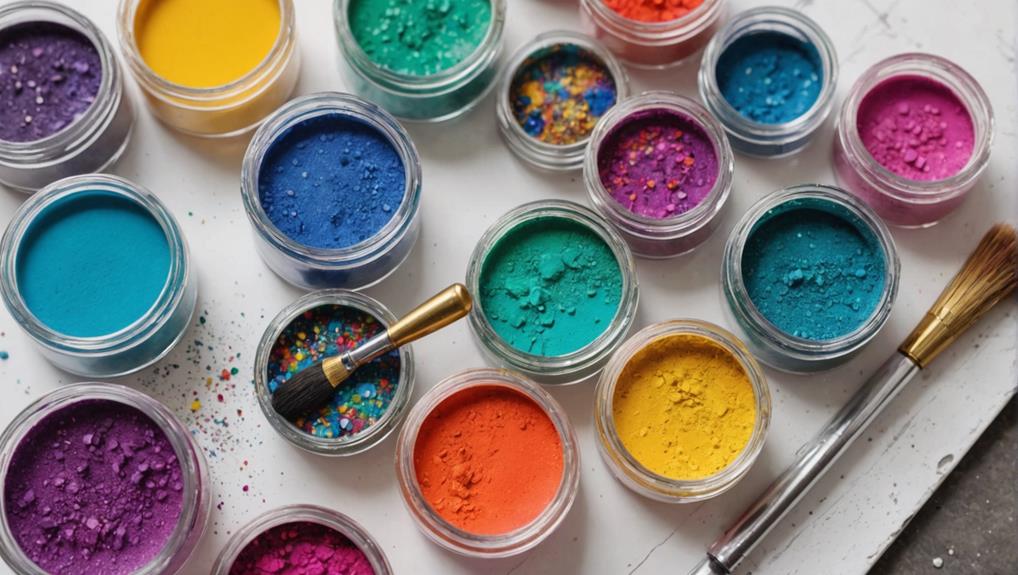
Other exciting options include metallic flakes and powders, which add sparkle and dimension to your work. Here are some popular choices for colorants and pigments:
- Resin pigments: Guarantee pigment compatibility and offer vibrant, stable colors.
- Alcohol inks: Perfect for creating marbled or swirled effects.
Inclusion Elements
Inclusion elements, such as dried flowers, glitter, and metallic flakes, offer resin artists the opportunity to enhance their work with added texture and vibrant color contrast. Imagine your resin project sparkling with glitter effects or shimmering with metallic flakes; it’s like magic! These inclusions can make your art pop, but there are some tricks to getting it just right.
First, always use moisture-free inclusions. Dried flowers are fantastic, but any moisture can make your resin look cloudy, like a foggy morning. Glitter and metallic flakes bring in texture contrast, making them sparkle and catch the light beautifully.
Next, think about buoyancy considerations. Heavy inclusions might sink to the bottom, while lighter ones could float up. It’s like trying to keep a beach ball underwater—it just won’t stay down! To avoid this, consider layering techniques. By layering different elements, you can create unique, dynamic effects without everything ending up in one spot.
Also, make sure all inclusions are clean and free of dirt. A speck of dust can ruin the whole look!
Experimenting with these techniques can make your resin art truly special, like a treasure chest of creativity.
Surface Preparation Tips

Proper surface preparation is vital for achieving a flawless and professional finish in resin art projects. Confirming your work surface is ready can make all the difference between a masterpiece and a mess.
Start by cleaning the area thoroughly to remove dust and debris. This promotes better adhesion and guarantees your resin piece remains clear and free from imperfections.
Here are some important tips for effective work surface preparation:
- Level Surface: Always use a level surface to prevent uneven curing. An unlevel surface can lead to unsightly finishes and structural issues in your final product.
- Moisture Control Techniques: Make sure all surfaces and included items are moisture-free before pouring resin. Any moisture can cause cloudiness and affect the clarity of the cured resin.
If using molds, don’t forget to apply a mold release agent. This prevents sticking and potential damage during demolding.
With these vital steps, your resin art projects will be set up for stunning success.
Finishing and Polishing
After ensuring your work surface is impeccably prepared, the next step in bringing your resin art to life is the meticulous process of finishing and polishing. This part is critical to making your art truly shine.
The first thing you’ll need are sanding tools, like various grits of sandpaper. Starting with a coarse grit, you’ll smooth out any rough edges or surfaces. Gradually, move to finer grits to achieve an even smoother finish. Think of it like leveling up in a video game—each step gets you closer to perfection.
Once sanding is complete, it’s time for polishing compounds. These are magical pastes that make your resin look glossy and professional. Apply the compound with a soft cloth or a buffing wheel. A rotary tool can be especially handy for larger pieces or those with intricate designs. It’s like giving your art a spa day!
Common Resin Projects

Resin art projects are diverse and can range from simple coasters and jewelry to elaborate decorative pieces like faux terrazzo countertops and epoxy resin coffee tables. These projects can be both fun and rewarding, allowing artists to create unique pieces that reflect their personal style.
Coaster designs are a great starting point for beginners. You can experiment with different elements like dried flowers, glitter, and alcohol inks to create vibrant and colorful designs. Not only are these coasters functional, but they also make fantastic gifts.
Jewelry making with resin opens up endless possibilities. You can embed tiny objects, photos, or even glitter within the resin to create stunning pendants, earrings, and bracelets. This type of project is perfect for those looking to craft personalized and one-of-a-kind pieces.
For those ready to tackle larger projects, faux terrazzo countertops and epoxy resin coffee tables offer a creative and impactful challenge. These pieces can be customized with colorful chips or personal photos, making them unique centerpieces in any living space.
- Glitter coasters: Simple yet stylish, perfect for beginners.
- Alcohol ink resin coasters: Vivid designs that catch the eye.
These common resin projects are just the beginning of what you can achieve with resin art.
Tips for Success
To secure your resin art projects and achieve the desired quality and durability, it is important to follow a few key tips for success.
First, always use a digital scale to guarantee accuracy in mixing ratios. A precise 1:1 ratio of resin to hardener is essential for proper curing and achieving that perfect finish you envision. Imagine baking a cake without measuring your ingredients—disaster, right? Resin art is no different!
Timing is everything, so pay close attention to curing times. Rushing the process can lead to a sticky, unfinished project, which nobody wants. Patience is your best friend here.
Invest in high-quality silicone molds. These molds capture every detail of your design and make demolding a breeze. Plus, they last longer, so it’s a win-win!
Got air bubbles? No problem. A heat gun or torch can help eliminate those pesky bubbles, giving you a smooth, crystal-clear surface.
Protect your workspace with drop sheets or silicone mats to catch spills. Trust us, cleaning up resin can be a sticky nightmare!
Community and Resources

Connecting with the resin art community and leveraging available resources can greatly improve your skills and raise the quality of your projects. Imagine diving into a world where everyone shares your passion. Online forums and social media groups dedicated to resin art offer invaluable support and inspiration. You can share your techniques and finished projects with fellow enthusiasts who understand the highs and lows of your creative journey.
Here are some ways to get involved:
- Online Tutorials: Platforms like YouTube are teeming with step-by-step guides on various resin art techniques. From basic projects to advanced methods, there’s always something new to learn.
- Workshops and Classes: Both online and in-person workshops provide hands-on experience and expert insights. These classes are perfect for enhancing your skills and knowledge.
Community engagement is not just about showing off your latest masterpiece. It’s about growing together. Sharing your creations and receiving feedback fosters a supportive environment. This sense of camaraderie encourages growth and innovation, making your artistic practice even more exciting.
Frequently Asked Questions
What Things Are Required for Resin Art?
Creating resin art requires an epoxy resin kit, precise resin mixing tools, silicone molds, safety precautions such as nitrile gloves, goggles, a respirator mask, and a heat gun or torch to eliminate air bubbles for a flawless finish.
What Do I Need to Start a Resin Art Business?
To start a resin art business, invest in essential supplies, establish a safe workspace, and build an initial inventory. Effective marketing strategies and competitive pricing tips are vital for attracting customers and ensuring profitability.
Is the Resin Art Business Profitable?
The resin art business is highly profitable, driven by favorable market trends and effective resin pricing strategies. With profit margins ranging from 30% to 70%, artists can capitalize on growing consumer demand for unique, handcrafted products.
What Sells Best With Resin Art?
Coasters, jewelry, and decorative pieces sell best in resin art. Utilizing resin colorants enhances product appeal, while selling platforms like Etsy and Instagram amplify visibility and reach, driving consumer interest and sales.
Conclusion
Resin art offers an enchanting blend of creativity and craftsmanship, requiring fundamental tools and safety gear to achieve success.
Understanding the right supplies, like quality epoxy resin and proper mixing tools, is vital.
Mastering techniques for finishing and polishing guarantees professional results.
Common projects, along with practical tips, enhance one’s skills.
Engaging with the resin art community provides invaluable support and inspiration.
Embrace the journey, and endless artistic possibilities will unfold.


Leave a Reply