Watercolor artists can explore stunning projects that showcase soft, blended hues. Try creating gradient skies in vistas, delicate floral wreaths, or abstract color washes for free-flowing creativity. Dreamy galaxy paintings and ombré gift tags offer celestial charm and practical beauty. Mountain scenes with atmospheric depth, vibrant sunset silhouettes, soft-edged geometric patterns, and fluid coastal art round out these inspiring ideas. Each technique reveals the magical way colors dance when they meet wet paper.
Key Takeaways
- Create gradient skies by layering wet-on-wet blues and purples for atmospheric landscapes with silhouetted foregrounds.
- Design delicate floral wreaths using transparent color layers and wet-on-wet techniques for soft, blended petals.
- Experiment with abstract color washes and salt techniques to create flowing, mingled hues on wet paper.
- Paint dreamy galaxy scenes by layering blues, purples, and pinks with splatter techniques for twinkling stars.
- Craft ocean-inspired coastal art using fluid blending to capture water movement and seamless color transitions.
DIY Watercolor Landscape With Gradient Skies
Many budding artists dream of capturing those breathtaking sunset skies, where colors melt together like ice cream on a hot summer day.
Creating these dreamy watercolor paintings is easier than you might think!
Creating vibrant watercolor sunset skies is within your reach—all you need is water, patience, and a splash of imagination!
Start by thoroughly wetting your paper—this is the secret to those smooth, blended skies. Apply light blues and purples at the horizon, then work upward with darker shades.
Once your sky gradient looks magical, let it partially dry before adding silhouettes of mountains or trees with darker paint. The contrast will make your scenery pop!
For the foreground, earth tones and greens work wonderfully.
Remember to build your painting in layers, letting each one dry before adding the next. This patience pays off with gorgeous, professional-looking results that’ll make your friends say, “Wow!”
Delicate Floral Wreaths With Blended Petals
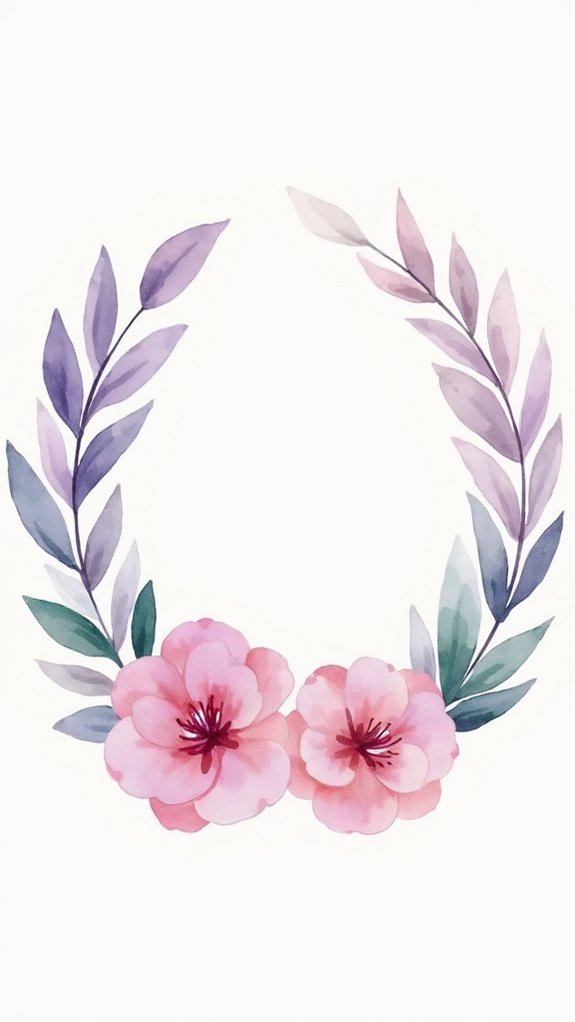
Creating delicate floral wreaths requires gathering specific materials like various brush sizes, quality watercolor paints, and absorbent paper that won’t buckle when wet.
Artists can achieve those dreamy, soft-looking petals by mastering the wet-on-wet technique, where colors are allowed to blend naturally into each other with just the right amount of water.
The magic happens when you build up layers of transparent color, letting each one dry before adding the next, which gives those petals incredible depth and dimension that will make people say, “Wait, how did you DO that?
Materials You’ll Need
Don’t skimp on paints! A good set with both soft pastels and vibrant colors will give your wreaths that wow-factor everyone loves.
Remember to grab a palette for mixing your magical color combinations, and plenty of clean water for those wet-on-wet techniques that make petals look so real you’ll want to smell them!
Finally, masking fluid or tape is your secret weapon for preserving bright white highlights that make flowers pop!
Creating Perfect Blends
Now that you’ve gathered all your supplies, let’s explore the magic of creating perfect blends for those gorgeous floral wreaths everyone will admire!
One of the most beautiful watercolor techniques starts with the wet-on-wet approach. Simply brush clean water onto your paper first, then touch your color-loaded brush to this damp canvas and watch as the pigments dance and merge!
For those dreamy, soft petals, start with lighter colors before gradually adding darker shades with a round brush. The secret is in how you hold your brush—changing pressure and angle creates different petal shapes that look so real!
Let each layer dry a bit before adding more color, and don’t forget to use complementary colors that make your flowers pop. Your friends won’t believe you made something so delicate!
Layering Petal Techniques
The art of layering petals transforms a simple watercolor wreath into a breathtaking masterpiece! Artists begin with a light sketch on quality watercolor paper, creating a roadmap for their floral creation. The wet-on-wet technique forms the foundation, allowing colors to dance and mingle across the paper’s surface.
| Step | Technique | Result |
|---|---|---|
| Base | Wet-on-wet | Soft, blended edges |
| Middle | Layer after drying | Added depth |
| Final | Dry brush details | Delicate highlights |
Building each petal requires patience—letting layers dry before adding the next. Playing with different brush sizes creates variety in your flowers (skinny brushes for thin lines, fat brushes for juicy petals!). The magic happens when you add those final highlights, making your petals practically pop off the page!
Abstract Color Wash Studies
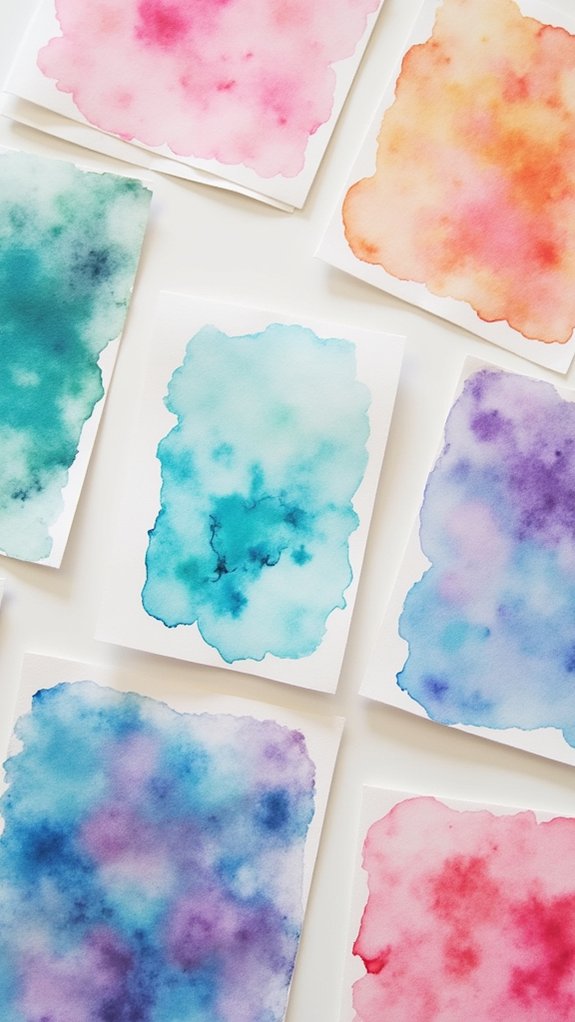
Abstract color wash studies open a doorway to creative freedom that even beginning artists can walk through with confidence.
These explorations invite watercolor painters to play with how colors blend and dance together on wet paper, creating dreamy gradients that simply take your breath away!
Artists can get wild with wet-on-wet techniques, where colors flow and mingle like best friends at a party.
Try sprinkling salt on wet paint—it creates these amazing starburst patterns that look totally cosmic!
Or grab different brushes (fat, skinny, flat, round) to make varied marks and textures that add personality to your abstract piece.
These colorful experiments aren’t just pretty—they’re like artistic push-ups that strengthen your blending muscles and deepen your understanding of how watercolors really work.
Dreamy Galaxy Paintings With Soft Transitions
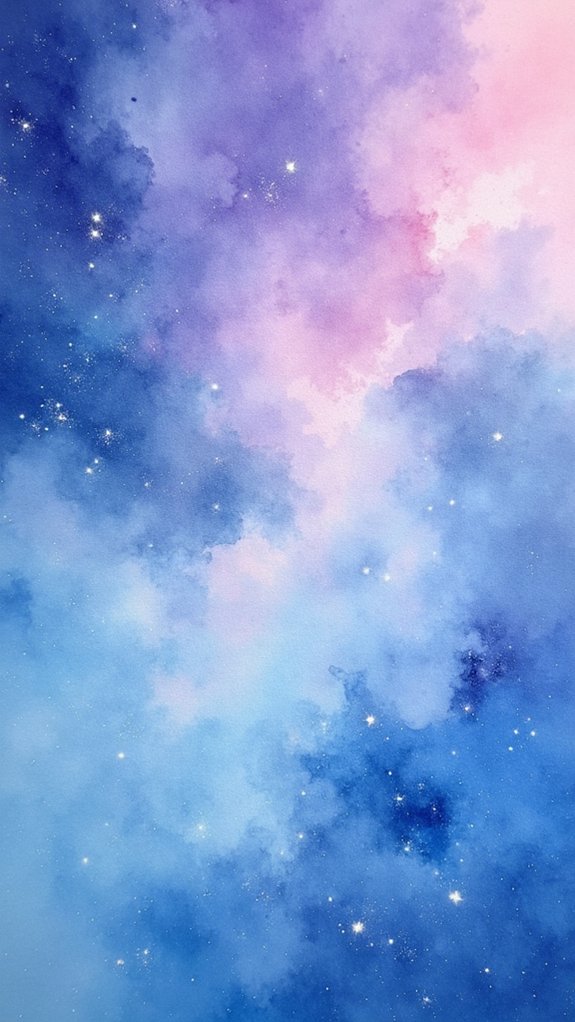
Gazing into the vast cosmic wonders of our universe inspires some of the most magical watercolor creations imaginable! Dreamy galaxy paintings capture the mysterious beauty of space through soft shifts between vibrant colors. Artists can build depth by layering blues, purples, and pinks, allowing each wash to partially dry before adding the next.
| Technique | Colors | Effect |
|---|---|---|
| Wet-on-wet | Deep blues/purples | Ethereal backgrounds |
| Layering | Pinks/teals | Dimensional nebulae |
| Splattering | White/metallic | Twinkling stars |
The secret to these cosmic masterpieces lies in combining brush techniques. Try dabbing for star clusters and swirling for spiral galaxies! Large brushes create sweeping cosmic backgrounds, while smaller ones add detailed celestial bodies. The result? A breathtaking watercolor universe that seems to glow with otherworldly magic!
Watercolor Ombré Gift Tags and Cards
From the vast cosmic reaches of galaxy paintings, we move to something equally magical but much more practical!
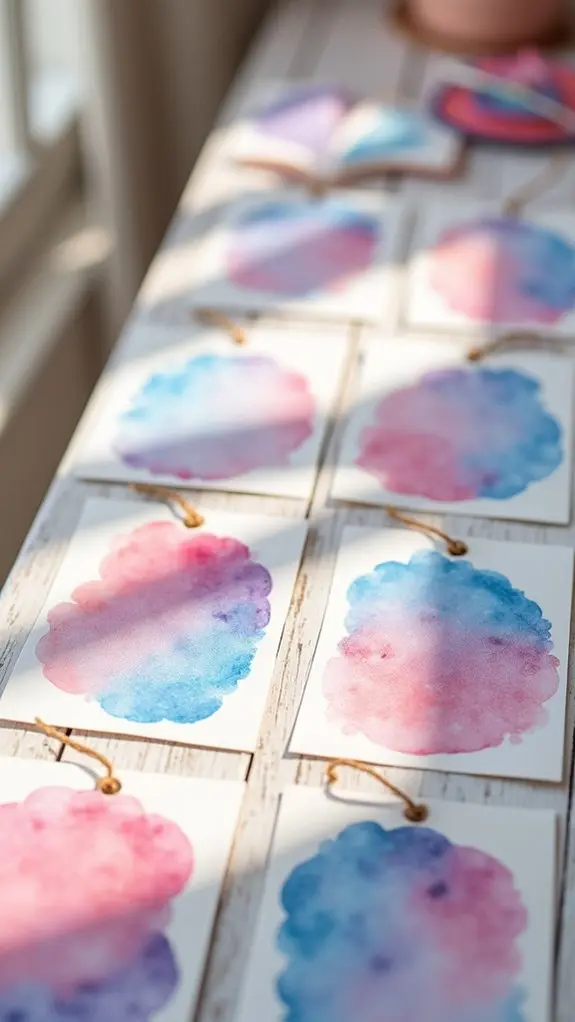
Watercolor ombré gift tags and cards are among the easiest watercolor painting ideas that deliver stunning results. By blending two colors together gradually, crafters can create a smooth, dreamy shift effect that makes even simple stationery pop with elegance.
The technique is surprisingly simple: just start with a wet brush loaded with your lighter shade, then introduce the darker hue at the edges and watch them dance together!
Remember to use thick watercolor paper or cardstock to prevent warping. Add your personal touch with handwritten messages or tiny stamps that complement your gorgeous gradient background.
These colorful creations make birthdays, holidays, and thank-you notes extra special, showing off your artistic flair while making the recipient feel incredibly treasured!
Ethereal Feather Art With Gentle Color Fades
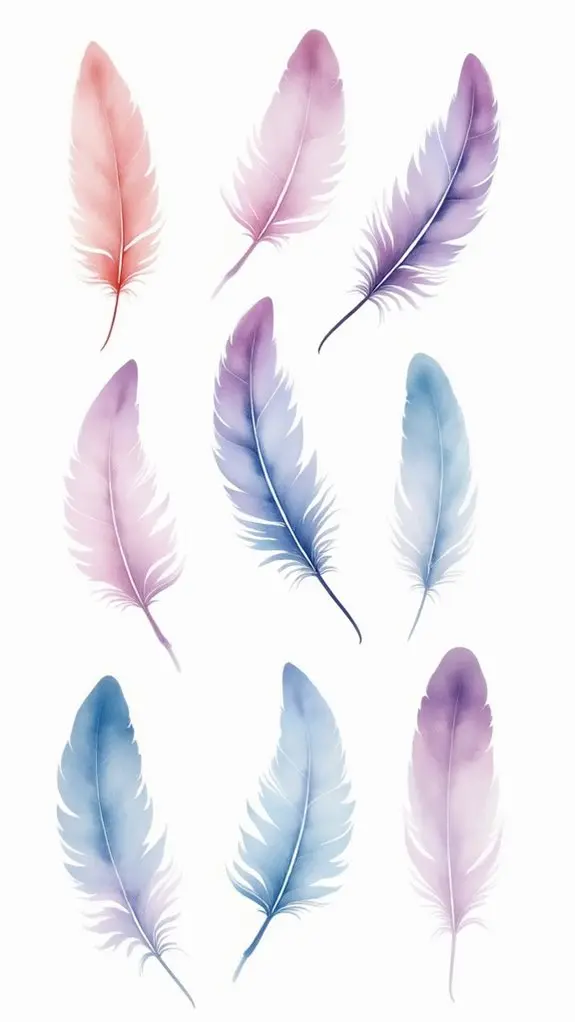
Nature’s most elegant gifts, feathers, transform into stunning watercolor masterpieces when artists apply gentle color fades to capture their ethereal quality.
Using the wet-on-wet technique, colors blend seamlessly, creating that soft, airy appearance that makes feathers so magical!
The wet-on-wet magic turns ordinary watercolors into ethereal feather wisps that seem to float right off the page!
This project ranks among the top painting ideas for beginners because it forgives little mistakes while teaching valuable blending skills.
Artists can play with different brush sizes—big, swooshy strokes for the main feather shape, and tiny, delicate ones for those wispy details. How fun!
Light washes of pastel colors work wonders here, making feathers appear almost see-through.
Adding subtle outlines helps define the feather’s shape while keeping that dreamy vibe.
Beginners and pros alike love this project for practicing those tricky color shifts!
Layered Mountain Scenes With Atmospheric Depth
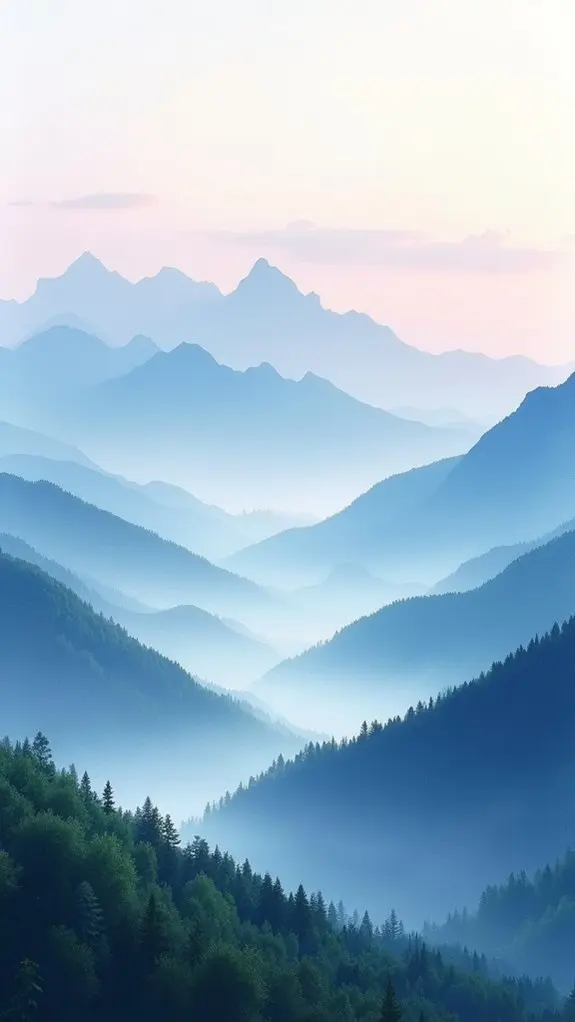
Watercolor artists can create stunning mountain scenes by mastering subtle color shifts that trick the eye into seeing great distances.
Blues and purples fade into warmer colors as mountains recede into the background, giving viewers the feeling of gazing across miles of scenery with just a few brush strokes.
The magic happens when painters layer these colors while they’re still wet, allowing them to blend naturally into a dreamy, misty atmosphere that makes you feel like you’re standing on a mountaintop with the world spread out before you.
Subtle Color Transitions
When artists seek to capture the mysterious beauty of distant mountains, subtle color gradations become their most powerful tool. The magic happens when they start with pale, watery washes for faraway peaks, then gradually build intensity for closer landforms. This layering trick fools our eyes into seeing real depth!
Watercolorists often use the wet-on-wet technique to blend colors seamlessly, creating those dreamy, fog-kissed mountain silhouettes we love. The paint flows naturally, just like mist drifting between valleys!
Try mixing cool blues and purples for distant ranges, then shift to warmer browns and greens as you move forward.
Experimenting with brush techniques adds even more dimension—soft, feathery strokes for distant mist and bolder, drier brushwork for rocky foreground details.
These subtle color gradations transform flat paper into breathtaking mountain vistas!
Creating Atmospheric Distance
Have you ever noticed how mountains in the distance look hazy and blue, while closer peaks appear sharper and more colorful? This atmospheric phenomenon is super cool to recreate in watercolor painting! Using wet-on-wet techniques, you can blend colors seamlessly to mimic nature’s own depth effects.
| Distance | Colors | Technique |
|---|---|---|
| Far | Pale blues, soft grays | Very wet, blurry edges |
| Middle | Muted purples, blues | Semi-wet, minimal detail |
| Near | Warmer greens, browns | More defined, sharper edges |
The secret is layering! Start with the furthest mountains using light blues, then gradually work forward with darker, warmer colors. Add tiny trees or rocks in the foreground for that jaw-dropping contrast against your dreamy mountain backdrop. Your friends will totally think they’re looking through a misty window!
Sunset Silhouettes With Vibrant Bleeding Colors
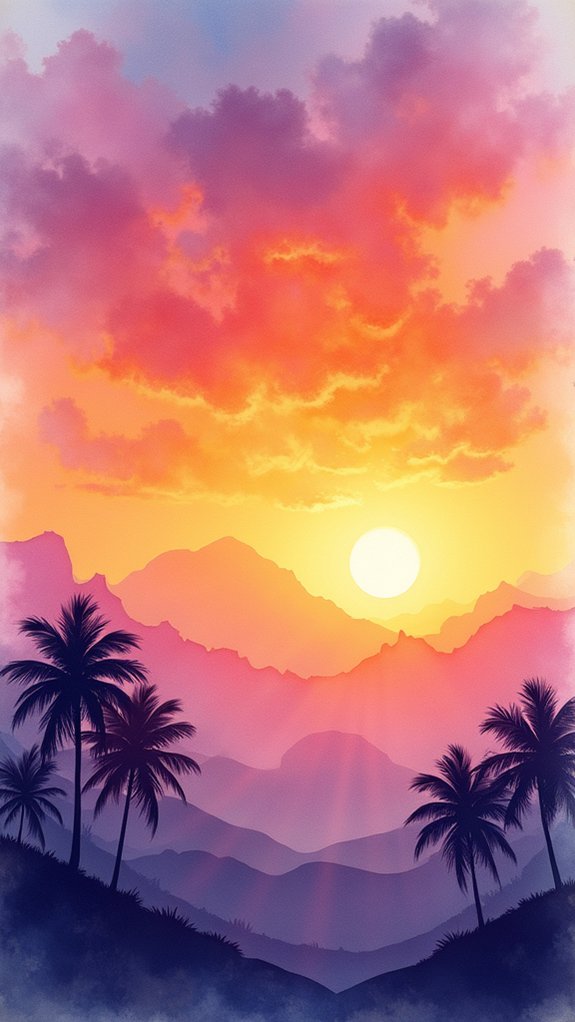
To create stunning sunset silhouettes, artists blend warm oranges, pinks, and yellows in horizontal strokes, letting these juicy colors bleed together like they’re best friends at a party!
Once the colorful sky dries (patience is key!), dark silhouettes of trees or buildings are added for dramatic contrast.
For extra pizzazz, try layering colors for depth or adding birds flying across your sunset scene. The magic happens in those soft, bleeding edges where colors meet – that’s when your watercolor truly sings with vibrant energy!
Washed Geometric Patterns With Soft Edges
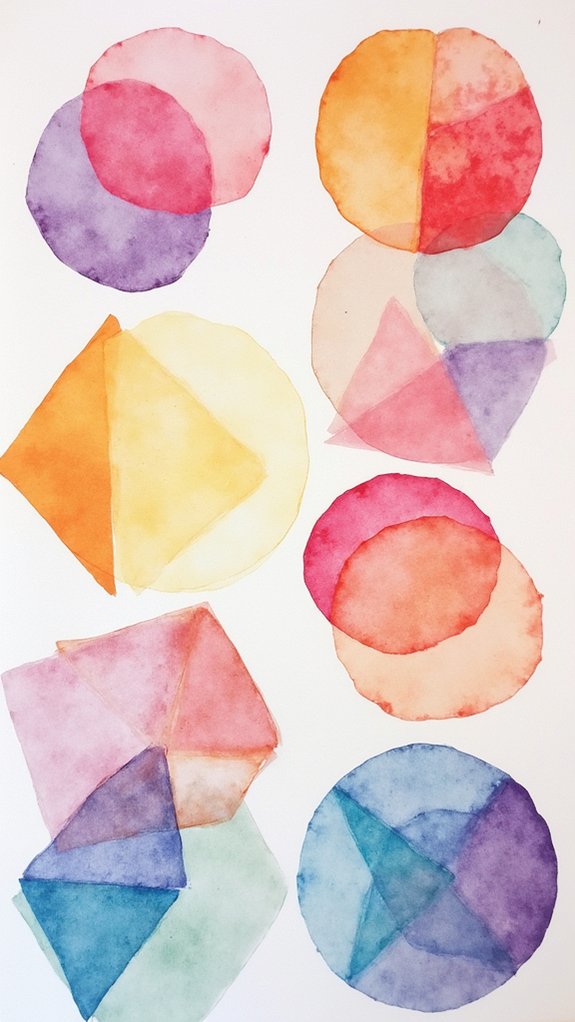
Geometric patterns burst into watercolor magic when artists soften their rigid edges, creating a dreamy mathematical scenery that’s both structured and fluid!
Artists begin by lightly sketching shapes with pencil on watercolor paper, giving them a roadmap for their colorful journey.
Next, they select gentle hues that’ll dance together on the paper. The real fun starts when they apply the first wash, working super-fast to keep edges wet and blendable.
With a clean, water-dipped brush, they pull colors outward, transforming hard lines into soft gradients that seem to float on the page.
These washed geometric patterns gain depth when artists add more layers after the first dries. The trick? Keeping that dreamy softness while building complexity.
It’s like organizing a cloud—impossible but totally mesmerizing!
Ocean-Inspired Coastal Art With Fluid Blending
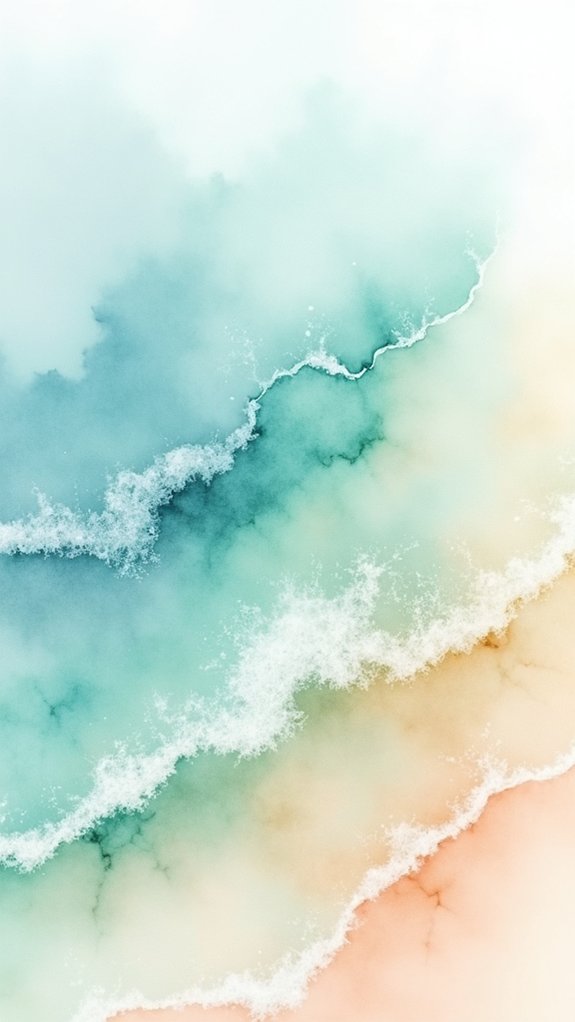
When waves crash against shorelines in nature, watercolor artists can capture that same magic on paper through ocean-inspired coastal art! Fluid blending techniques perfectly mimic the movement of water, creating dreamy seascapes that transport viewers straight to the beach.
Artists can build dimension by starting with light washes of soft blues and sandy beiges, gradually adding darker shades for depth. The wet-on-wet technique creates those seamless shifts between colors that make ocean scenes look real!
| Technique | Effect | Materials | Color Palette | Texture Addition |
|---|---|---|---|---|
| Wet-on-wet | Seamless waves | Watercolor paper | Soft blues | Salt sprinkles |
| Layering | Depth | Round brushes | Sea greens | Sponge dabbing |
| Blending | Water movement | Clean water | Sandy beiges | Paper towel lifting |
| Gradients | Sunset reflections | Spray bottle | Coral accents | Plastic wrap |
| Splatter | Sea foam | Fan brush | White highlights | Tissue texturing |
Frequently Asked Questions
How Long Should Watercolor Paper Soak Before Stretching?
The ideal soaking time for watercolor paper before stretching is 5-15 minutes. Thicker papers require longer soaking time, while thinner sheets need less time to properly expand.
Can Student-Grade Watercolors Achieve Professional-Looking Soft Transitions?
Student-grade watercolors can achieve decent soft shifts with proper technique and careful Color Selection. Limitations in pigment quality may require additional layers to reach professional-looking blends and gradients.
What Brushes Work Best for Controlled Water-To-Pigment Ratios?
Synthetic-natural blend brushes provide ideal control over water-to-pigment ratios. Brush types with good water retention like kolinsky sable and squirrel hair excel at maintaining consistent moisture levels during application.
How Do You Prevent Mud When Layering Multiple Blended Colors?
Avoiding mud when layering requires understanding Color Theory fundamentals. Artists should wait for layers to dry completely, use complementary colors strategically, and limit mixing to 2-3 pigments per blend.
Are Special Techniques Needed for Preserving Whites in Blended Compositions?
Whites preservation in blended compositions requires masking fluid, careful planning, or dry brush techniques. Artists must intentionally leave white spaces untouched rather than attempting to add white later.
Conclusion
Watercolor painting offers endless possibilities for artists of all levels. With these ten inspiring ideas, anyone can immerse themselves in the dreamy world of soft hues and blended techniques. Whether it’s capturing a sunset’s glow or creating delicate florals, the magic happens when colors dance together on paper. Grab your brushes, let go of perfection, and watch as water transforms ordinary pigments into extraordinary art. Your creative journey awaits!

Leave a Reply