Watercolor painting offers endless inspiration through its dreamy techniques. Artists can create soft blends using wet-on-wet methods, where paint flows naturally on damp paper. Gradient washes transform skies, while salt sprinkled on wet paint creates stunning textures. Masking fluid preserves whites for highlights, and transparent layering builds depth. Dry brush techniques add intricate details that make viewers want to touch the artwork. These methods reveal a magical world where pigments dance and blend in surprising ways.
Key Takeaways
- Wet-on-wet technique creates seamless, dreamy atmospheric effects by applying pigment to dampened paper for naturally flowing blends.
- Master gradient washes by applying clear water first, then introducing darker pigments that fade naturally for realistic sky effects.
- Transparent layering builds luminosity by applying thin washes over dried layers, requiring quality paper and complete drying between applications.
- Salt techniques create unique textures by pulling moisture and pigment into surprising patterns when sprinkled on wet paint.
- Combine techniques like dry brushing with wet-on-wet to create depth, realism, and visual interest in your watercolor paintings.
The Magic of Wet-on-Wet Blending
When artists talk about the magic of watercolour, they’re often referring to the wet-on-wet technique. This charming approach involves applying wet paint onto an already dampened surface, creating soft blends that seem to dance across the paper. The process is surprisingly simple but utterly enchanting!
First, artists dampen the paper with clean water, then add pigment to create blended washes that flow and mingle naturally. This method works wonders for dreamy skies and atmospheric backgrounds, where colors need to shift smoothly into one another.
The dance of pigment on damp paper creates nature’s most ethereal transitions, perfect for capturing sky’s dreamy whispers.
Watching the paints merge is like witnessing a tiny, colorful miracle! Artists must keep an eye on the moisture level, though – too much water creates puddles rather than poetry.
Once dry, these watercolour techniques reveal their true beauty: seamless shifts that capture nature’s gentlest moments.
Creating Dreamy Skies With Gradient Washes
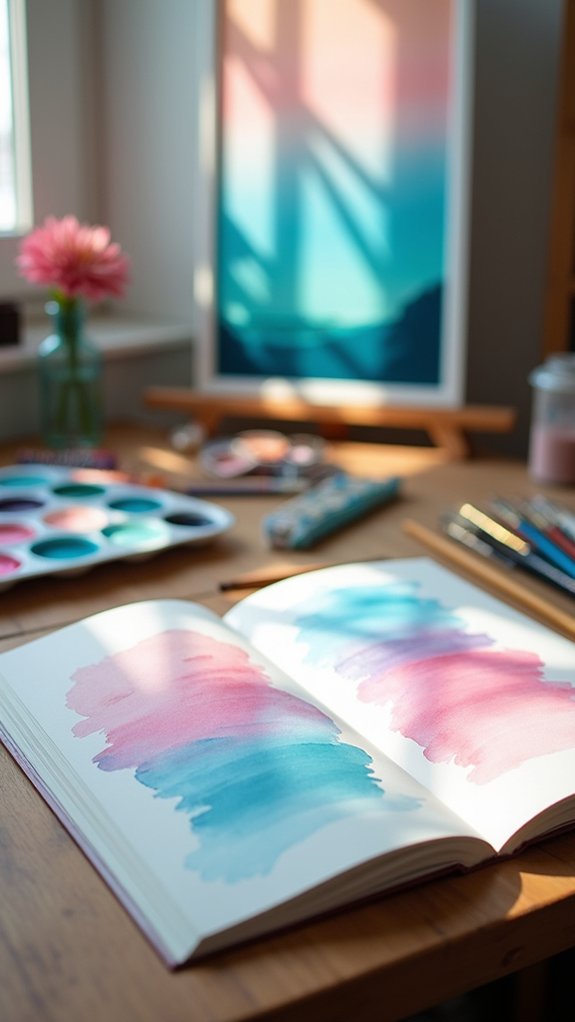
Among all the enchanting watercolour effects, the gradient wash technique stands out as the perfect method for creating breathtaking skies in your paintings. This wet-on-wet technique begins by applying clear water to your paper, then introducing darker pigments that gradually lighten as you work downward, mimicking nature’s own canvas!
The magic happens in the smooth shift from deep blues to lighter hues near the horizon. Just tilt your paper slightly—it helps control paint flow and prevents those pesky puddles!
Keep your brush loaded but not dripping wet (nobody wants a watercolour flood!).
Don’t be afraid to play with unexpected colour combinations. Mix warm yellows with cool blues for sunset vibes, or try purples with pinks for a dreamy twilight scene. Each blend creates different effects that tell their own atmospheric story.
Salt Techniques for Textural Effects
While traditional watercolor techniques create beautiful flows and blends, salt techniques offer a completely different kind of magic! By simply sprinkling kosher salt onto wet watercolour painting, artists can create unique bursts and fascinating textures that seem to appear by themselves.
Discover salt’s artistic alchemy—where simple crystals transform wet pigment into mesmerizing textures that appear almost magically.
For the most eye-catching results, start with vibrant colors on your watercolor paper. The salt crystals work like tiny sponges, pulling moisture and pigment into surprising patterns and textures as everything dries.
Big crystals or small ones? A sprinkle or a shower? Each choice creates different effects!
Once your masterpiece is completely dry, gently brush or scrape away the salt to reveal the amazing textures underneath. This technique works especially well on textured papers, where the rough surface adds even more character to your creation.
Mastering Transparent Layering
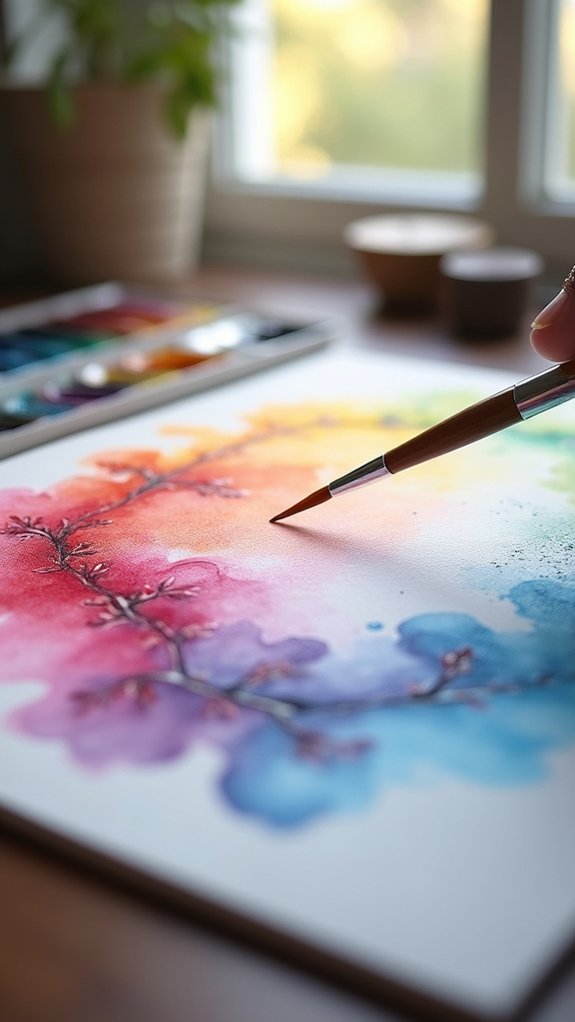
Transparent layering stands as the hallmark of master watercolorists who create paintings with incredible depth and luminosity! This technique involves applying thin, translucent washes over dried layers, building up rich, vibrant results that seem to glow from within.
High-quality watercolour paper (especially 300 GSM cold-pressed cotton) is super important because it supports better pigment absorption and helps colors flow smoothly across the surface.
- Wait for complete drying – Patience creates magic! Each layer must dry fully before adding the next to keep colors clear and bright.
- Use soft brushes – They’re your best friends for gentle glazing that won’t disturb previous layers!
- Play with color combos – Try complementary colors to create eye-popping visual interest that’ll make viewers say “Wow!”
Playing With Plastic Wrap Textures
Creating magical textures in watercolor doesn’t always require fancy tools or advanced skills! The plastic wrap technique is a fun way to create stunning organic textures that will make your artwork pop.
Simply apply wet paint to your paper, then crumple some plastic wrap and press it onto the surface. The magic happens as the paint dries underneath, forming beautiful veins and patterns you couldn’t paint by hand!
The humble plastic wrap transforms into an artist’s wand, creating intricate patterns that emerge like nature’s own fingerprint.
For best results, leave the plastic wrap in place until the paint is completely dry.
Try experimenting with different colors – vibrant blues and purples create amazing galaxy-like effects! Even the type of plastic wrap matters, as thicker wraps create bolder textures.
This watercolor trick is perfect for backgrounds, scenery, or abstract art that needs that special something!
Alcohol Dispersal for Unique Patterns
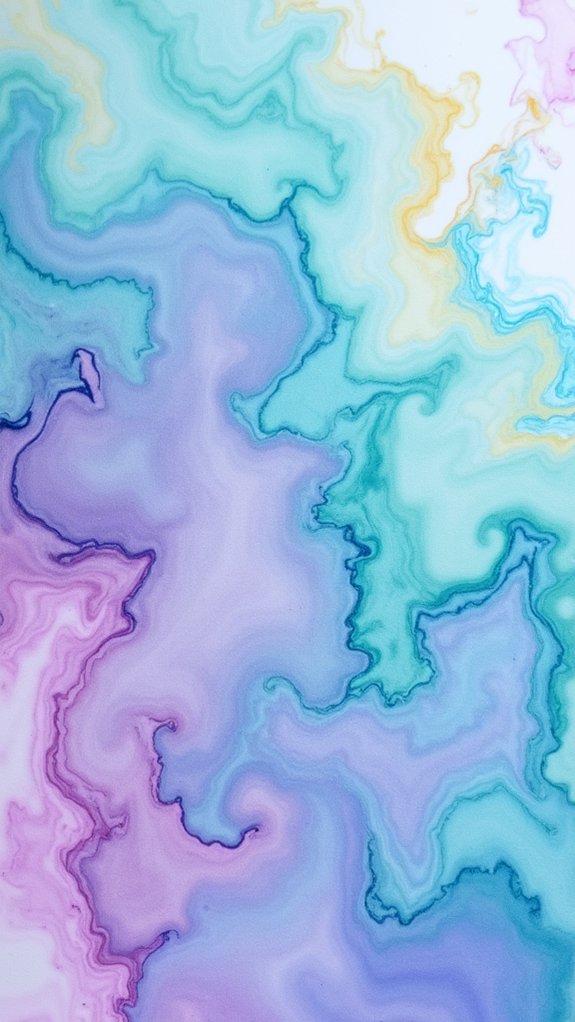
Discover the magic of alcohol dispersal, a fascinating technique that transforms ordinary watercolor paintings into extraordinary works of art!
This method creates soft-edged white spaces when rubbing alcohol or vodka is applied to wet paint, pushing pigment away to form interesting patterns. Artists achieve the best results by using a clean brush for precise application while the watercolor remains wet.
- *Watch in amazement as droplets of alcohol create starbursts that dance across your painting like tiny fireworks!*
- *Feel the thrill when unpredictable patterns emerge, making each artwork uniquely yours!*
- *Experience the joy of controlling chaos as you master this technique to create dynamic textures!*
Perfect for adding highlights to vistas or creating dreamy abstract works, this technique invites endless experimentation with different alcohol concentrations.
Lifting Techniques for Light and Dimension
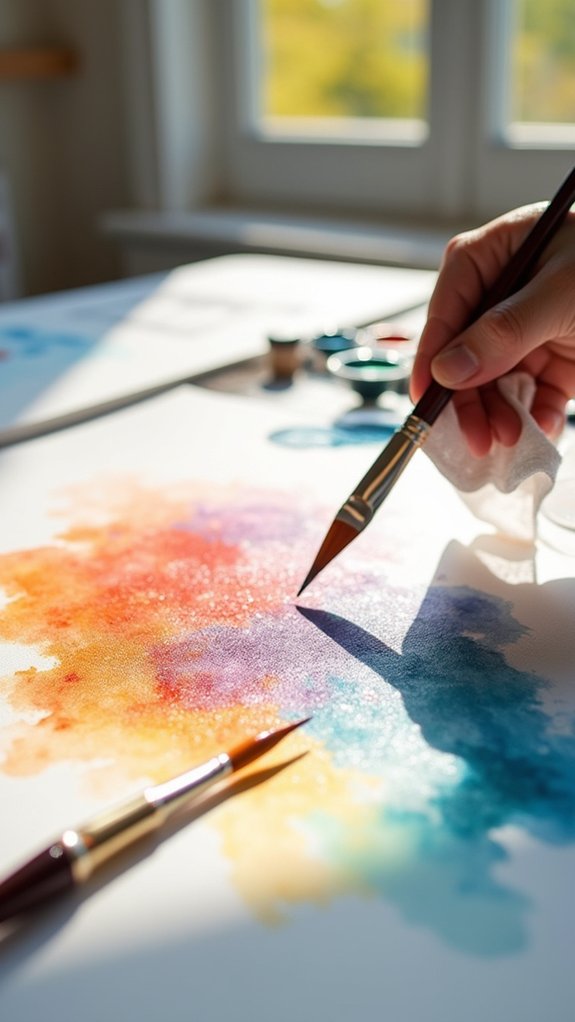
Release the magic of lifting techniques to transform your watercolor paintings from flat to fantastically dimensional!
Artists can use a clean brush—slightly damp for dry areas or completely dry for semi-wet paint—to gently lift away colors, creating gorgeous highlights that make artwork pop. This clever method gives painters incredible control over their watercolors without starting over.
A clean brush becomes your magic wand, lifting away watercolor to reveal highlights that transform flat paintings into dimensional masterpieces.
Want to add a sunbeam through trees or sparkle on water? Lifting is your secret weapon!
Just remember, timing matters—try lifting when paint is semi-dry for best results, as wet paint gets muddy when disturbed. With practice, these soft blends between light and dark areas create amazing depth.
Mastering this technique helps artists understand their materials better and adds that special “wow factor” that makes watercolor paintings truly shine!
Spray Methods for Organic Textures
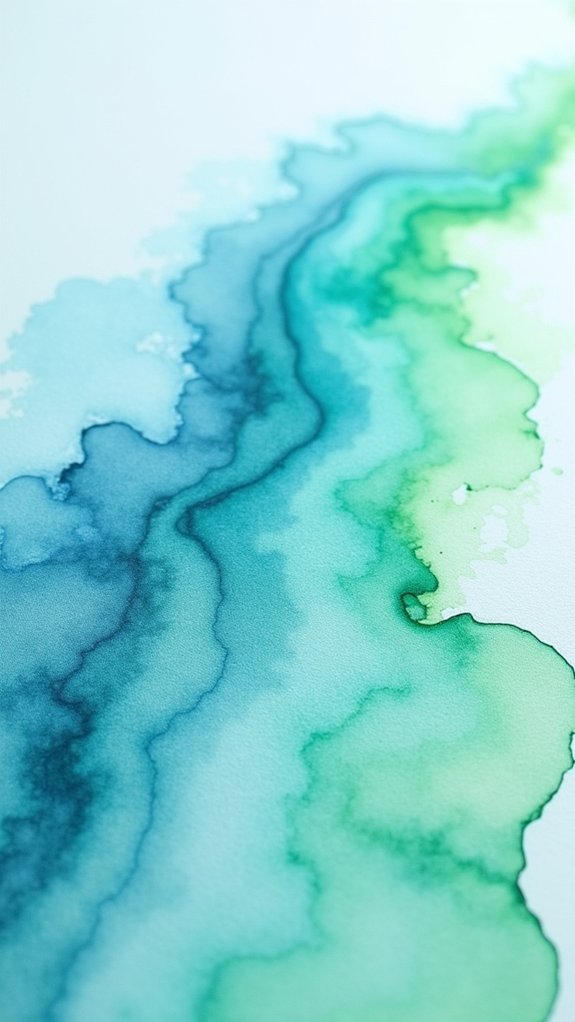
While lifting techniques create precise lightness in watercolors, the spray method releases a whole different kind of magic!
Artists use a simple spray bottle filled with clean water to moisten the paper, creating perfect conditions for amazing blending and diffusion of pigments. The result? Stunning organic textures that flow and merge like coral formations beneath the sea.
- *Watch in awe* as colors dance and swirl together when you apply paint to freshly sprayed paper!
- *Feel the excitement* when controlled splatters transform a flat painting into a world of depth!
- *Experience the joy* of seeing unexpected patterns emerge as water droplets create tiny, perfect stars across your artwork!
Combining this technique with others adds visual complexity to watercolour paintings, making them truly come alive with texture and movement.
Dry Brush Techniques for Detail Work
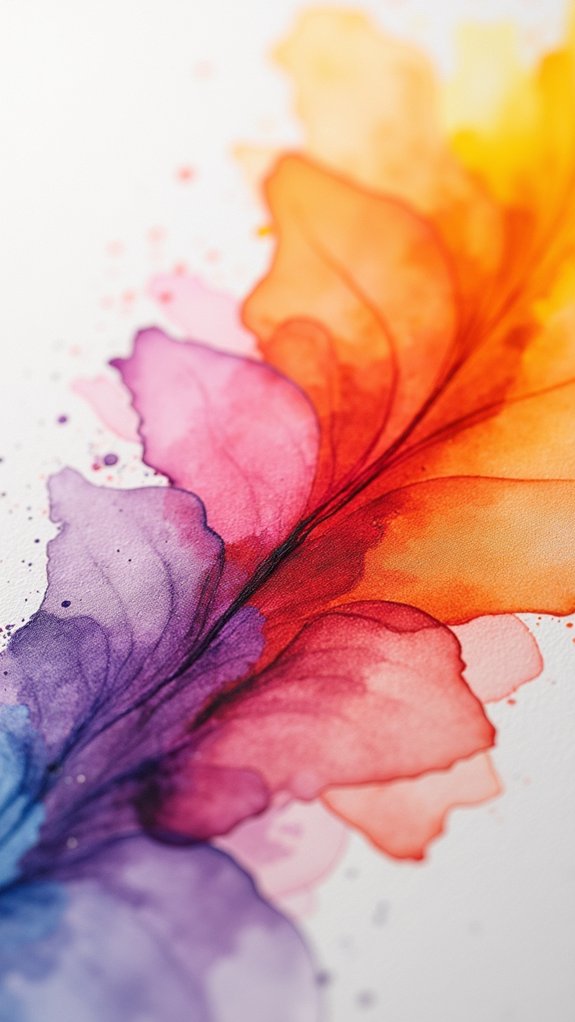
Mastery of the dry brush technique transforms ordinary watercolor paintings into extraordinary works of art! This amazing method creates eye-catching texture by using paint with minimal water on rough or cold press paper.
Artists load their round brushes with thicker paint, then blot away excess moisture on a rag before applying it to the paper. The magic happens when painters explore different pressure levels and brush angles to create various effects.
Want to add realistic fur to an animal or intricate leaves on a tree? Dry brush is your secret weapon! It works brilliantly for small details that make watercolor painting come alive.
For maximum impact, try combining dry brush with other techniques—it adds incredible depth and makes viewers want to reach out and touch your artwork!
Preserving Whites With Masking Techniques
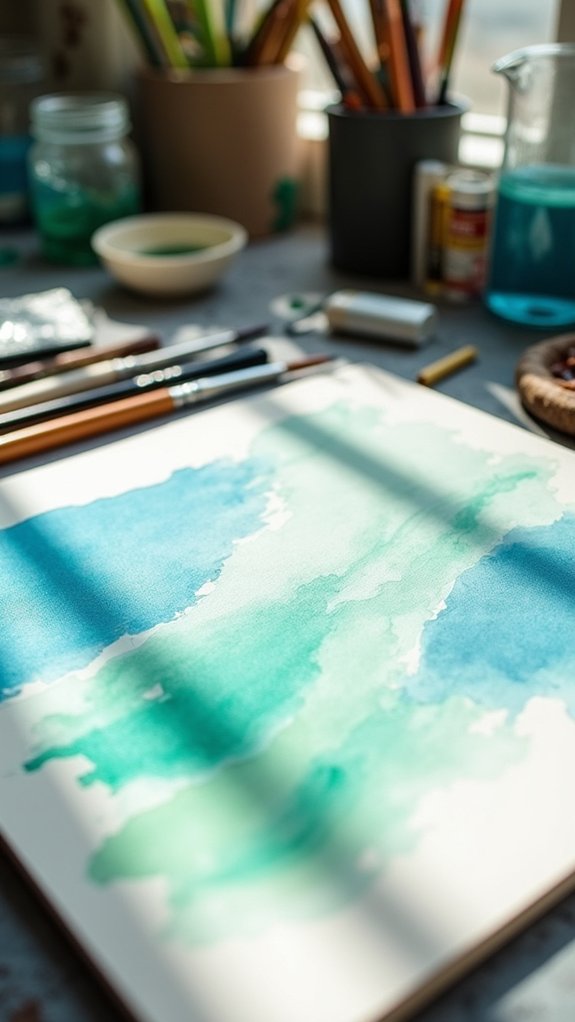
Because watercolor artists can’t simply add white paint later, preserving the white of the paper becomes an essential skill for creating stunning highlights!
Masking fluid acts as a protective shield, keeping white areas pristine while artists freely apply washes around them.
Before applying this magical preservative technique, remember to prep your old brush with dish soap to prevent sticky disasters.
Once applied, allow the masking fluid to dry completely before painting over it for clean results.
- The thrilling moment when you peel away masking fluid to reveal perfect, untouched white paper beneath layers of color!
- The satisfying control and precision you feel when creating delicate snowflakes or sunlit reflections on water!
- The amazement on viewers’ faces when they can’t figure out how you achieved such crisp highlights!
Frequently Asked Questions
What Is Eric Christensen’s Watercolor Technique?
Eric Christensen’s watercolor technique features wet-on-wet application for soft edges, layered glazing methods, and strategic color mixing. His distinctive watercolor brushwork combines graduated washes with textural elements for atmospheric depth.
What Are Three Common Mistakes That People Make When Using Watercolor?
Common watercolor mistakes include improper water ratio causing uneven washes, insufficient drying times between layers, and poor color mixing resulting in muddy palettes. Brush control and paper selection also impact results.
What Is the Golden Rule of Watercolor?
The golden rule of watercolor emphasizes layering techniques from light to dark, allowing transparent color mixing strategies to shine through. Proper drying time effects between wet-on-wet methods maintain the medium’s luminous quality.
What Is the Best Way to Blend Watercolors?
Effective watercolor blending combines wet-on-wet techniques, proper brush selection, and strategic layering. Artists should understand color theory, choose appropriate paper, control drying time, and maintain an organized palette for seamless color shifts.
Conclusion
Watercolor awaits your imaginative touch, with techniques that transform simple paper into magical worlds. From dreamy skies to textured vistas, each method offers endless possibilities for creativity. Whether you’re splashing colors together, sprinkling salt, or carefully lifting paint, your artistic journey is just beginning. Remember, the most beautiful watercolor moments often happen when you let go and allow the colors to dance together!

Leave a Reply